Share files between VM & Host
A quick primer on accessing and moving files between a VM and the local host using VMware. VMware Tools should have installed automatically with your VM build. If it appears they are missing please visit How to install VMware tools or contact the instructor for guidance.
- A Windows VM hosted on a PC with VMware Workstation
- An Ubuntu Linux VM hosted on a PC with VMware Workstation
- A Windows VM hosted on a Mac with VMware Fusion
- An Ubuntu Linux VM hosted on a Mac with VMware Fusion
A Windows VM hosted on a PC with VMware Workstation
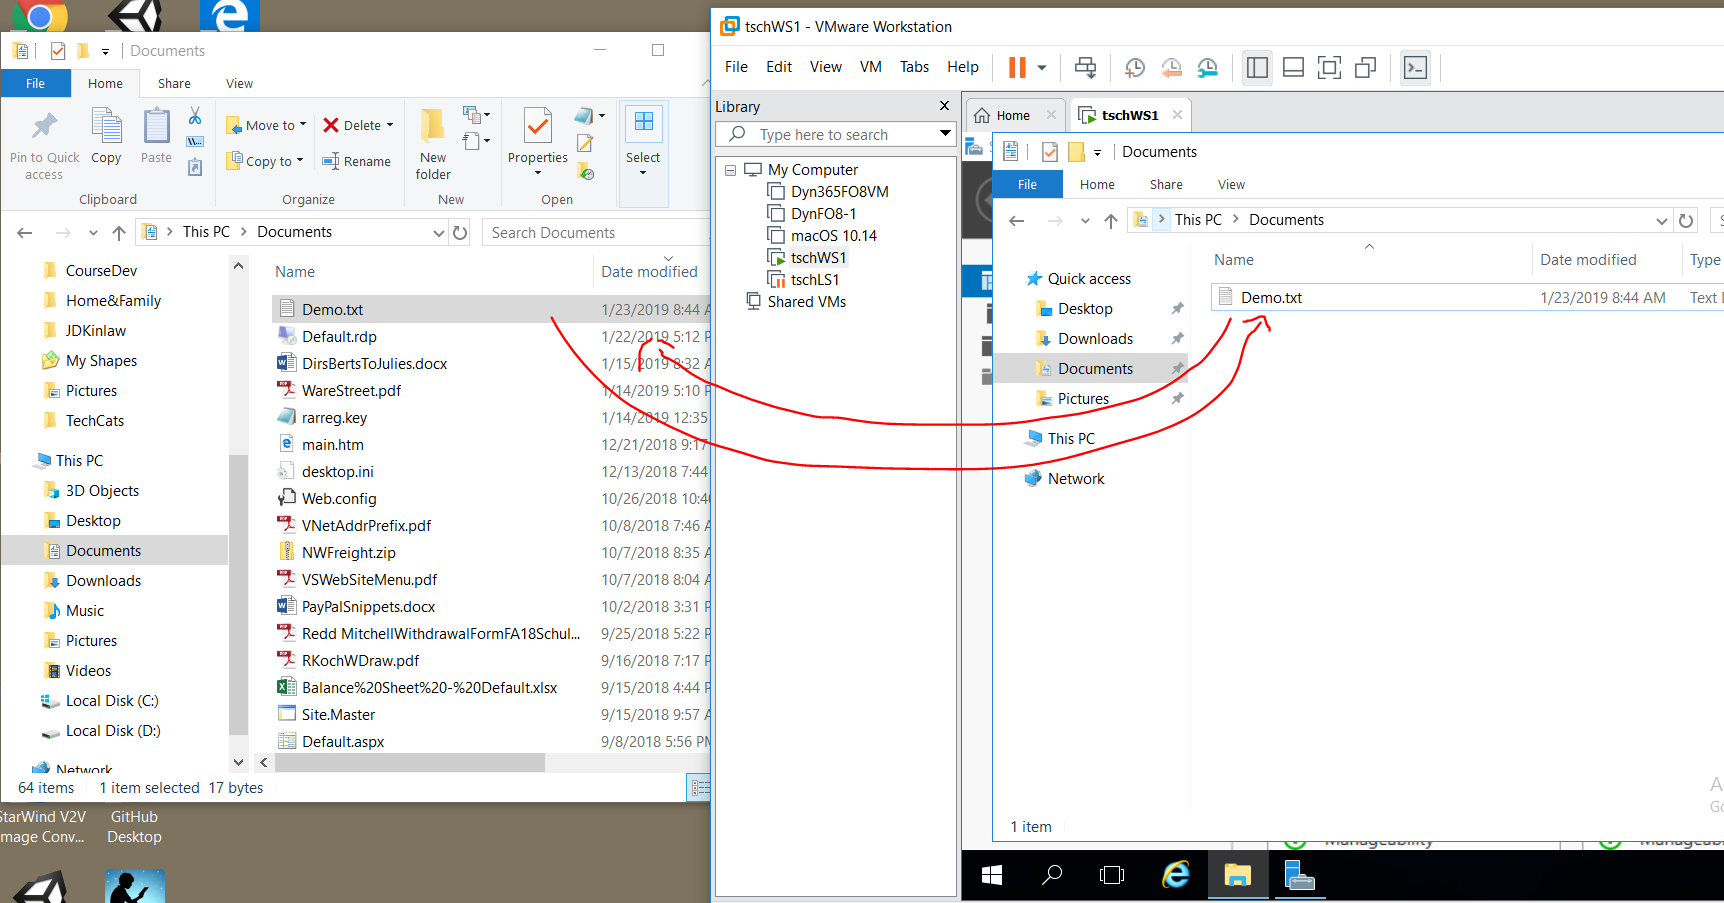
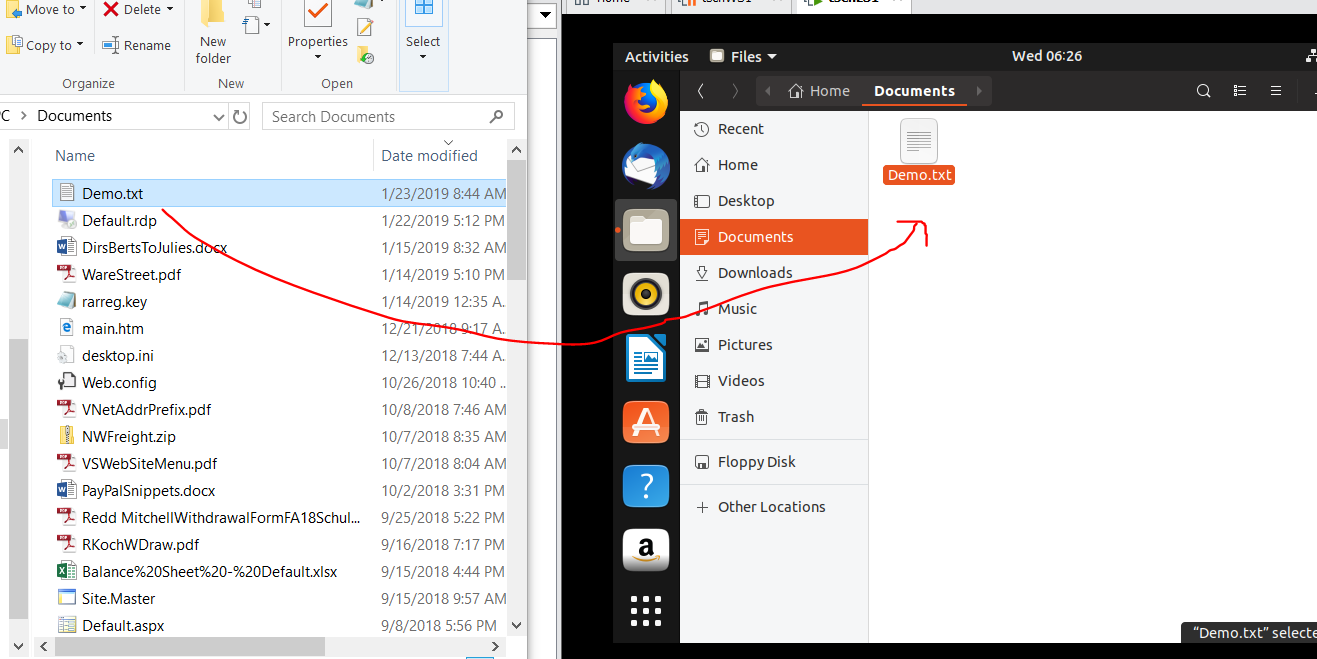
Your system's clipboard will allow you to drag & drop or copy & paste files between the VM and host just like between folders on one computer. If you can't get host and VM windows side by side like in the screen cap below, just find the file you want to copy, right-click and choose copy, navigate where you want it to be copied, then right-click and use paste.
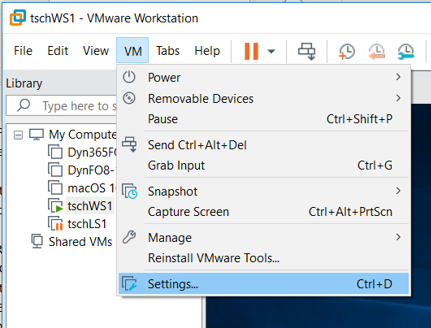
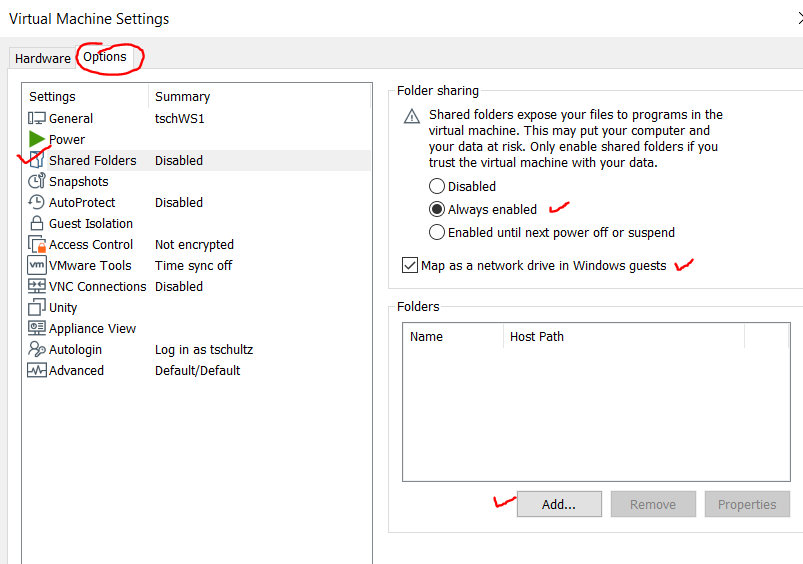
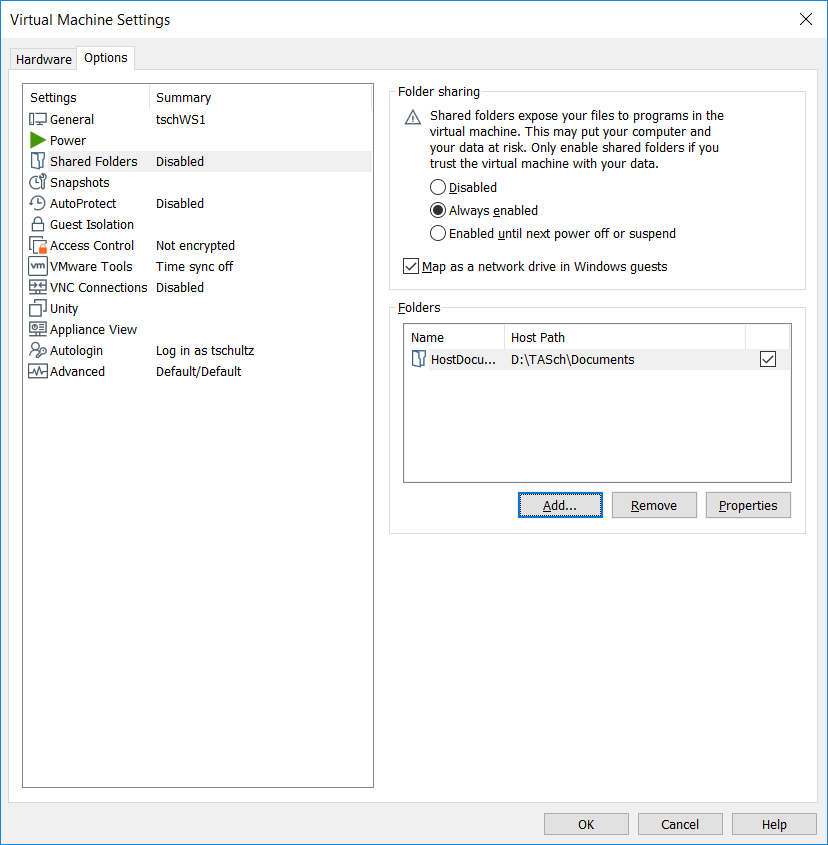
In addition you can make folders and drives from your host computer available as a shared virtual drive in the VM; this way both host and VM read & write from the same folder making bulk sharing easy. To set this up use the VMware Workstation menu VM | Settings, select the Options tab, click Shared Folders, and in the right pane choose always enabled and check Map as a network in Windows guests. Then click Add to identify the folder on the host to share.
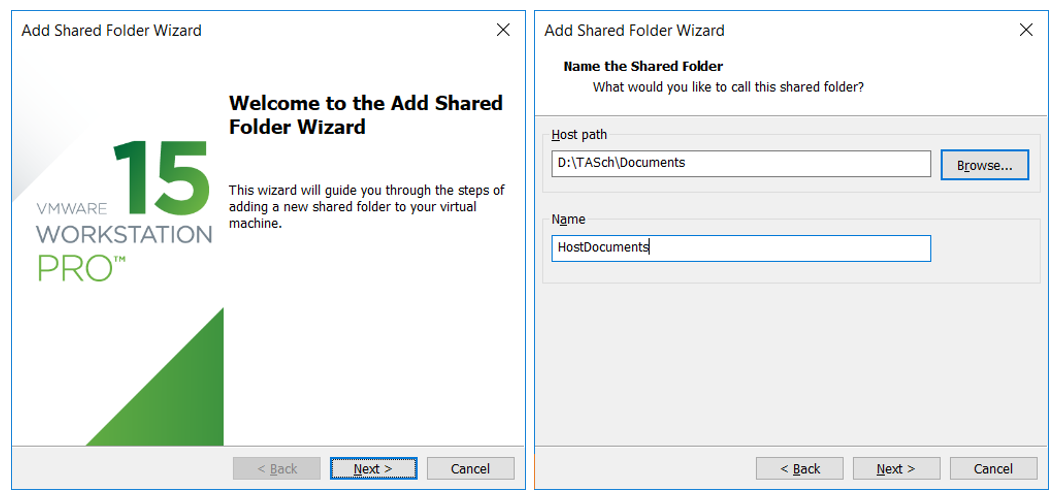
This will wake up the Add Shared Folder Wizard (click Next). Then use Browse to identify the folder on the host computer to share and choose a name for the folder to be referred to in the VM. Click Next.
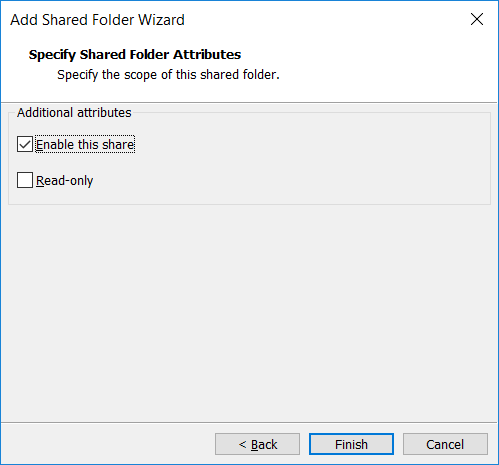
Leave Enable this share checked and Read-only unchecked (unless you want the VM to only see files and copy from files on the host computer but not change them); click Finish and then click OK in the Virtual Machine Settings.
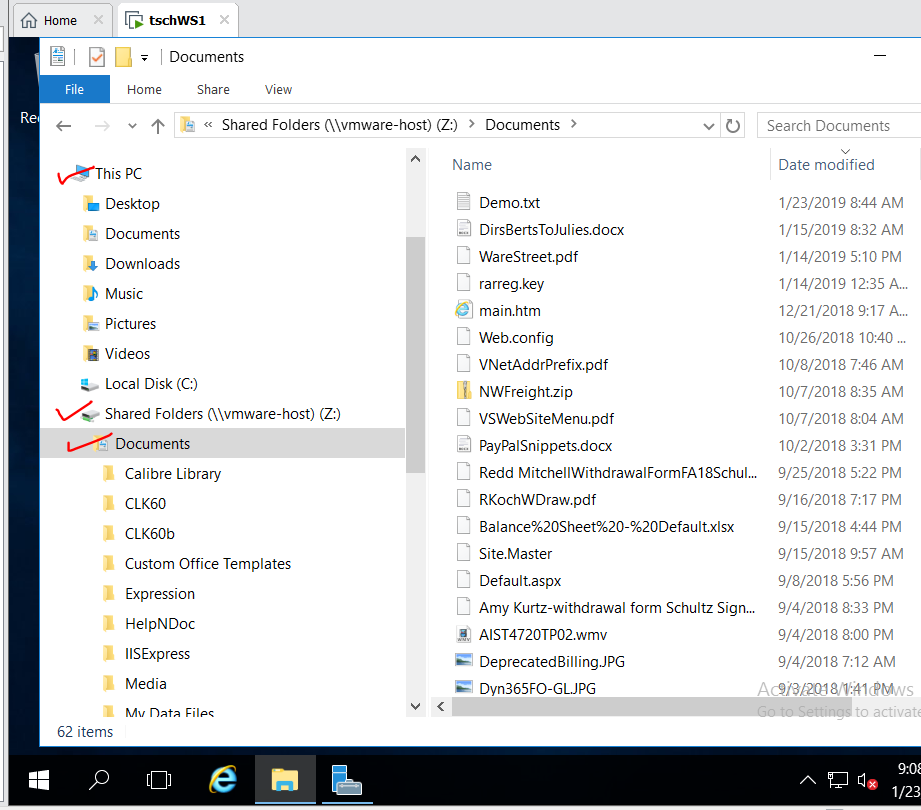
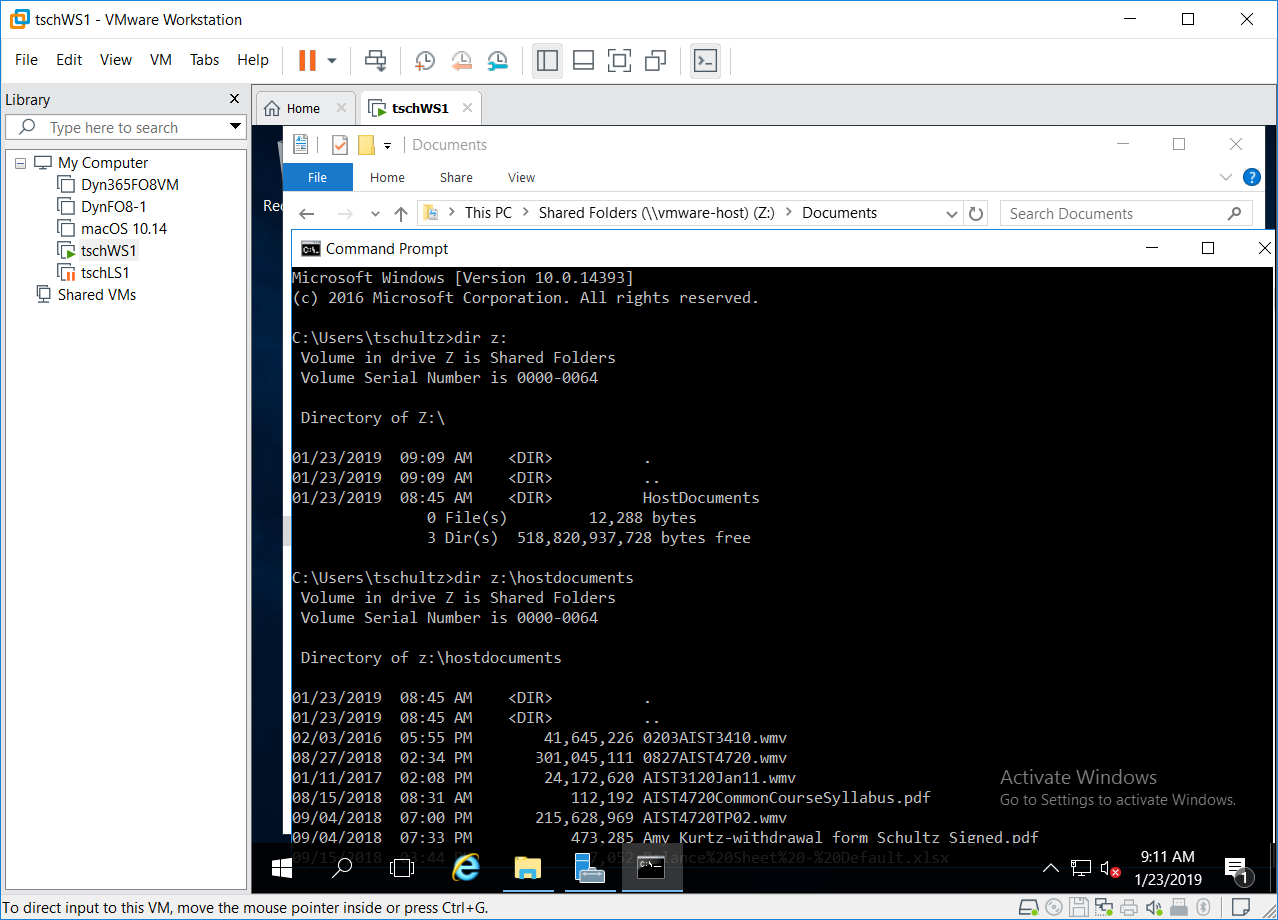
Then in the VM, use Windows Explorer (or other tool) to navigate to Shared Folders which will probably get assigned as drive Z:\ and within this, find your shared folder. This is the folder from the host but can be worked with as a 'normal' drive and folder on the VM. If something is saved there while using the VM it will be available also in the host. It is possible to set up several different shared folders if needed.
An Ubuntu VM hosted on a Windows PC with VMware Workstation
Your system's clipboard will allow you to drag & drop files from the host to the VM (but drag & drop is prevented from the VM to the host). But for copying either direction, just find the file you want to copy, right-click and choose copy, navigate where you want it to be copied, then right-click and use paste.
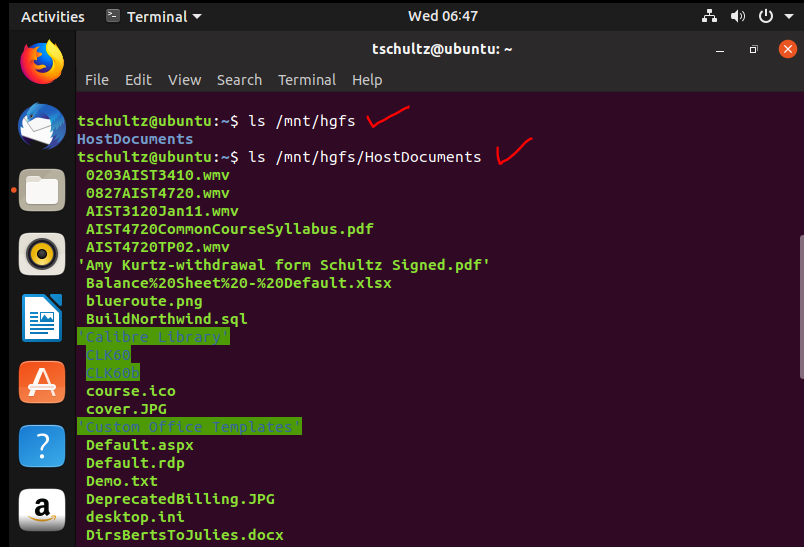
In addition you can make folders and drives from your host computer available as a shared virtual drive in the VM; this way both host and VM read & write from the same folder making bulk sharing easy. Setting this up is identical to the topic above but the shared folder(s) will be available in /mnt/hgfs/{Name of shared folder} on the Linux VM.

A Windows VM on a Mac using VMware Fusion
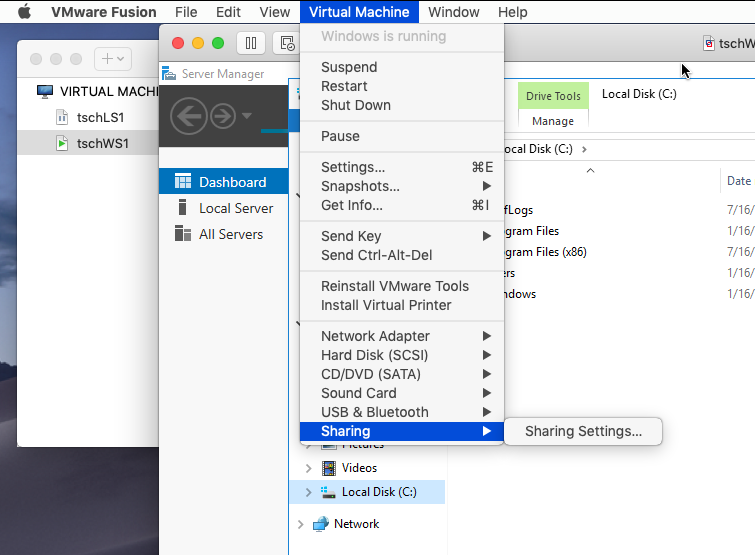
While running your VM use the VMware Fusion menu to select Virtual Machine | Sharing | Sharing Settings
If sharing was selected during the VM install you will see the shared folder (e.g., all the folders for your Mac user) available and clicking Open in Guest will open that folder in the VM's Windows Explorer. These files and folders are shared with the Mac so any changes made in the VM (e.g., pasting a file) will be available on the Mac (even when the VM is later suspended or shut down).
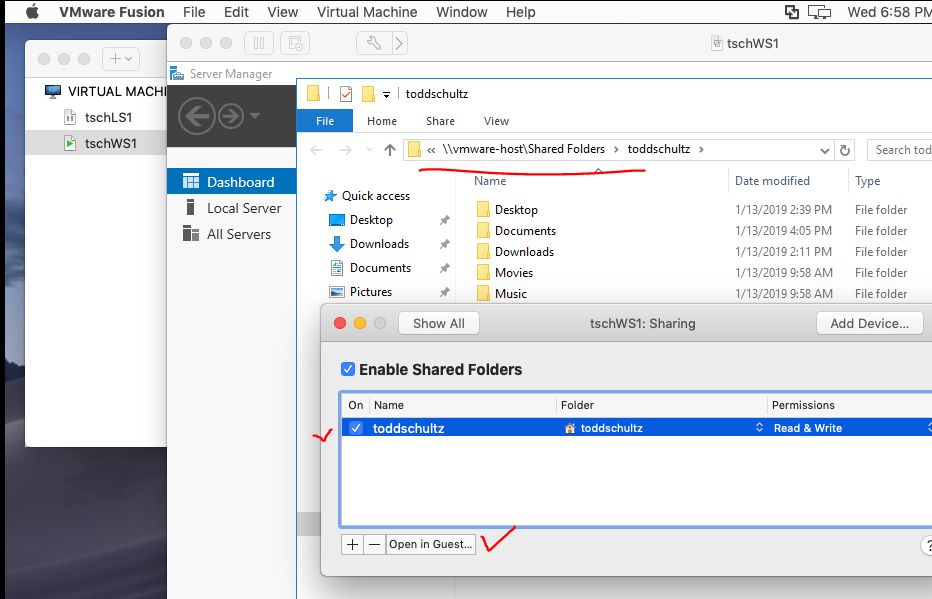
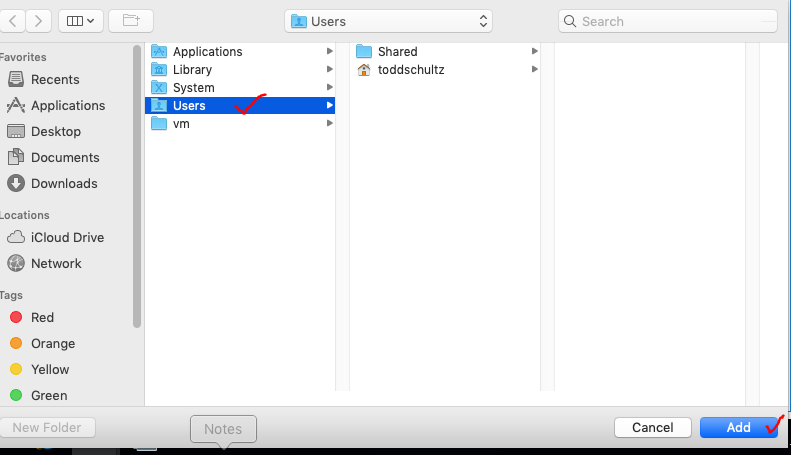
If you don't see a folder available in Enable Shared Folders (or want a different one) then click the + sign at the bottom of that dialog. Then find the Mac folder you want to share and click Add. The folder will now be available to work with (e.g., to Open in Guest). To quit sharing a folder, highlight it in the Enable Shared Folders dialog and hit the - sign.
An Ubuntu VM on a Mac using VMware Fusion
Proceed as with a Windows VM above to set up sharing. In the Ubuntu VM the shared folder will be found in /mnt/hgfs/{Name of shared folder}.