Creating a linked clone VM
Reference: VMware Cloning a Virtual Machine
In VMware a linked clone is a new virtual machine (VM) which copies from an existing VM but will only include changes made since the creation of the linked clone. When a linked clone is started it references the original VM for the core OS and settings so will be much smaller than a full clone since it contains just the differences since cloning.
There are many great uses for full and linked VM clones but our two main uses in AIST3720 are
- to preserve work-to-date in a server by making a clone and doing new work in the clone; if we run into significant issues we can delete the clone and create a new one from the known starting point.
- to 'fork' a server build into two or more development paths.
Below is guidance on the mechanics of creating VMware linked clones using Workstation on a PC or Fusion on a Mac.
Mechanics using VMware Workstation on a PC
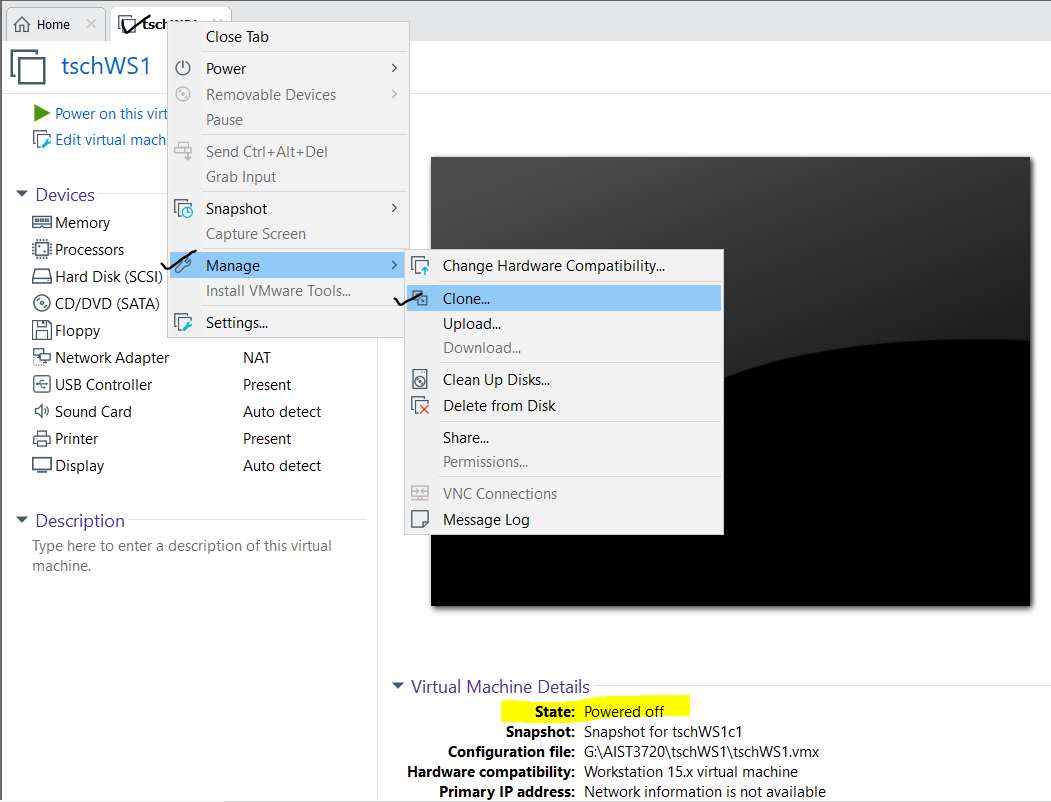
Make sure the VM you want to clone is powered off (not running or suspended). Right-click the tab with the VM or select the VM and use the VM option from the menu then choose Manage | Clone.
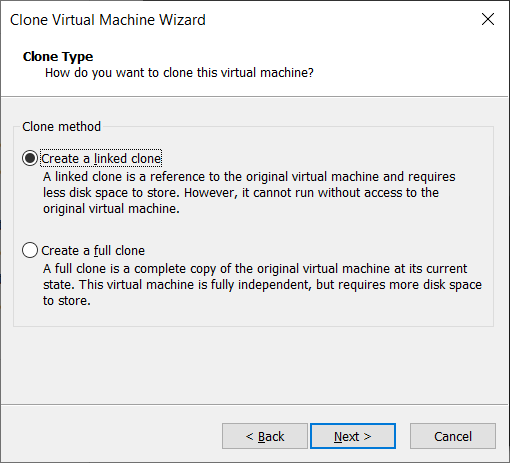
Click Next on the first screen of the wizard and for this case create the clone from the current state of the virtual machine (click Next).


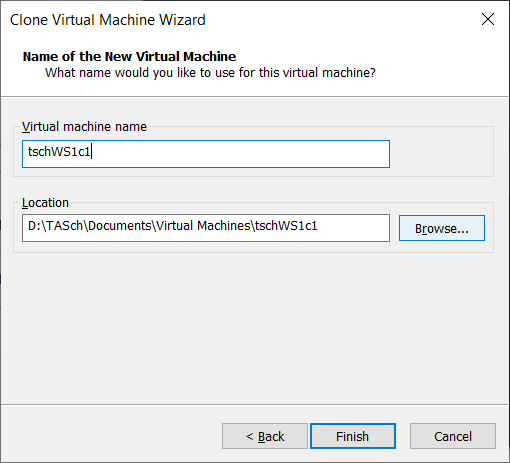
For this case create a linked clone but use full clone for a complete, standalone copy of the current VM. Click Next and then identify the VM name and disk location (note that the VM name is what VMware will call the files on the computer containing the VM; any host name or computer name internal to the VM will not be changed). Click Next.
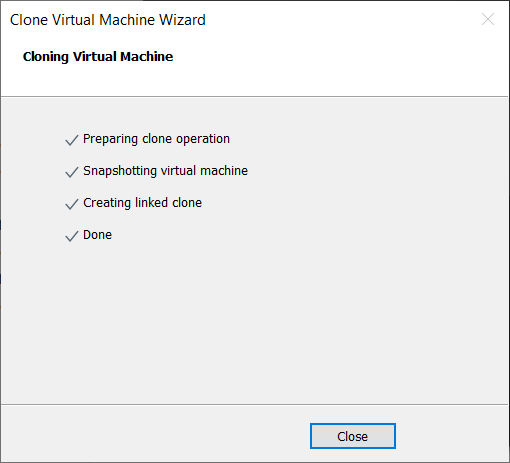
VMware will trundle a little showing progress; click Close when Done gets a check mark. This will leave a new VM which can be started and managed like any VM but which gets its 'roots' from the VM it was cloned from.

Mechanics using VMware Fusion on a Mac
Make sure the VM you want to clone is powered off (not running or suspended). Right-click on the VM to be cloned (or use Virtual Machine from the menu) and choose Create Linked Clone.

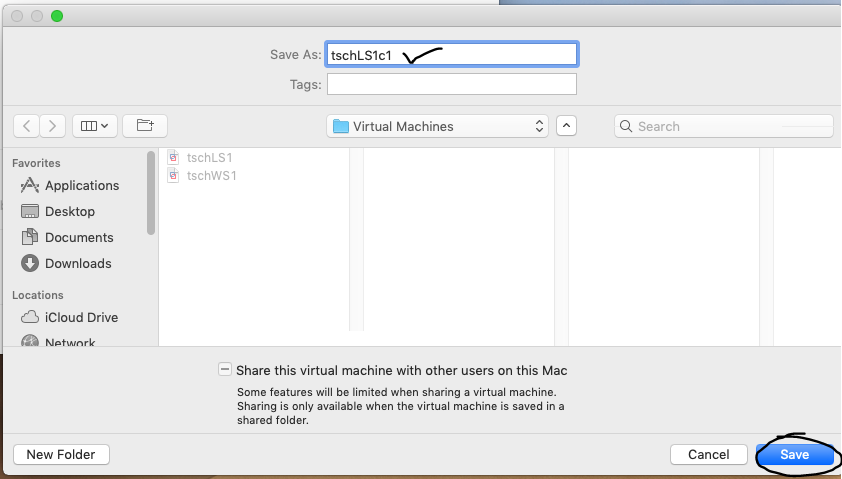
Identify a name for the clone VM and the location where it will be stored (note that the VM name is what VMware will call the files on the computer containing the VM; any host name or computer name internal to the VM will not be changed). Click Save.
This will leave a new VM which can be started and managed like any VM but which gets its 'roots' from the VM it was cloned from.
