Windows Server VM on a PC
Prerequisites:
- Your PC can host a Windows Server VM (e.g., see Local VM Hosting) and VMware Workstation has been installed.
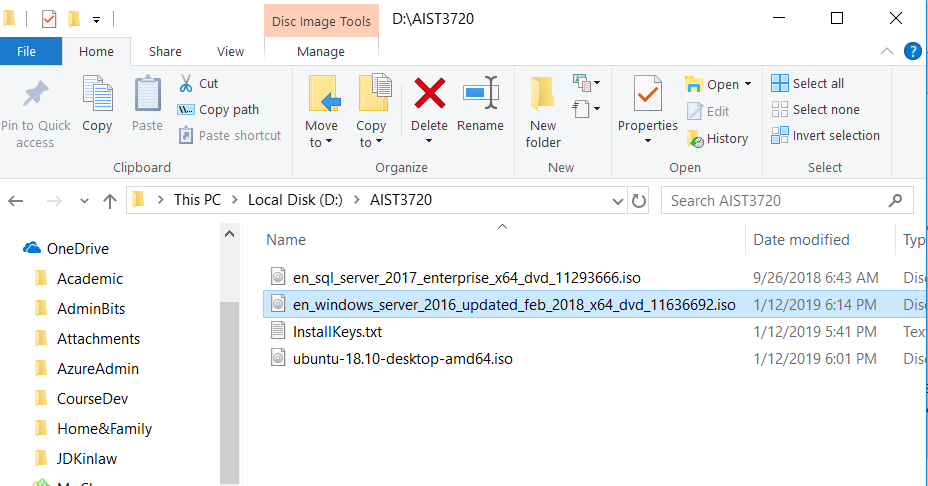
- You have access to a Windows Server install .iso and have a Windows Server product key.
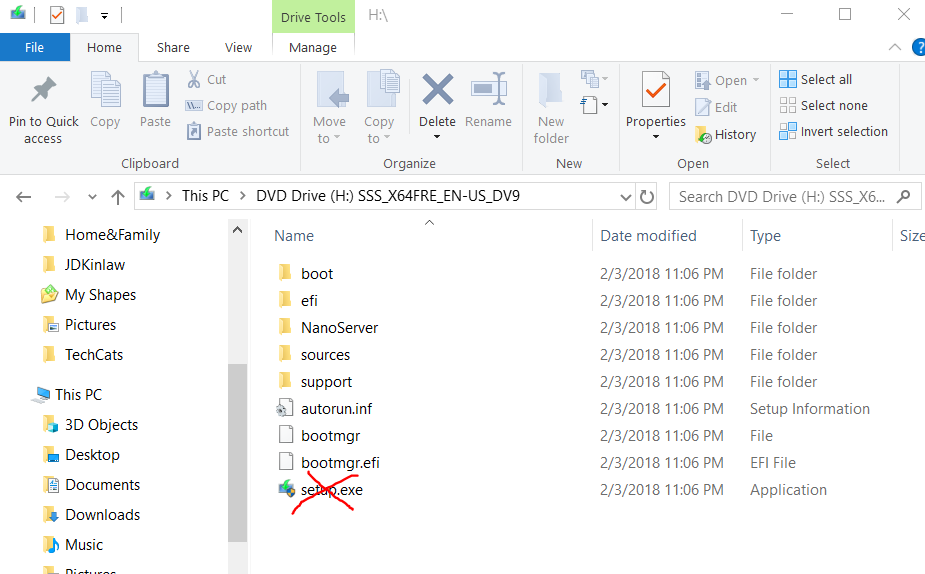
ALERT: Be careful with the Windows Server .iso download. Don't double-click it and then double-click setup.exe! That will start the process of installing Windows Server over your current Windows install which will uninstall all your applications, (pretty much) lose all your saved files, and turn your desktop OS into a Windows Server OS. Be sure you are creating a virtual machine (or VM) from the install. Do not do what is in the next two screen caps!
Configure the VM
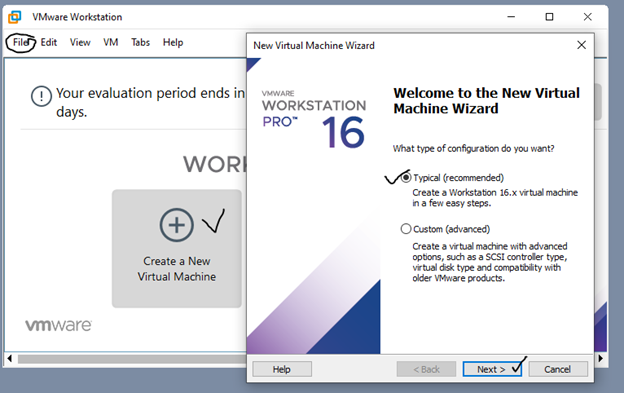
Start VMware WorkStation and use File | New Virtual Machine or click Create a New Virtual Machine. This will wake up the New Virtual Machine Wizard and a Typical configuration will works for our needs but explore Custom if you want.
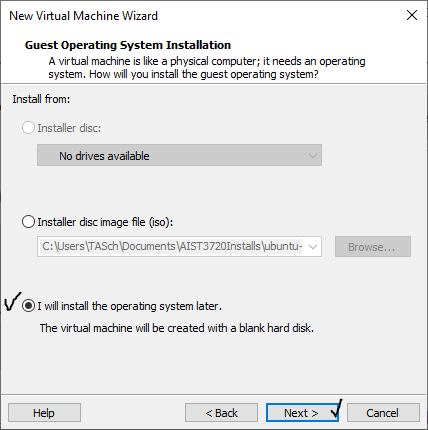
You could provide VMware the path to the installer image (second option) but you get a better sense for how Windows Server installs 'on iron' by opting to install the OS later.
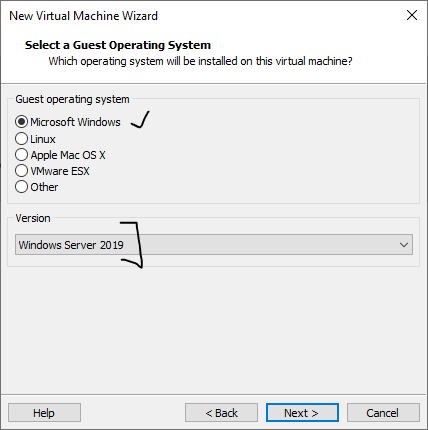
Select Microsoft Windows as the Guest OS and choose the Windows Server version (or latest available if the version being installed is later than any shown). Click Next.
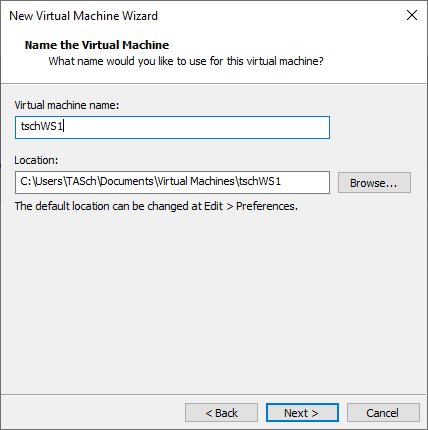
For AIST3720 I suggest naming your VM with the first four characters of your AU login followed by WS1. Note that this names the files created on your computer to support the VM and is not your server's host name. By default, the VM files are placed in Documents\Virtual Machines but you could choose another location if desired. Click Next.
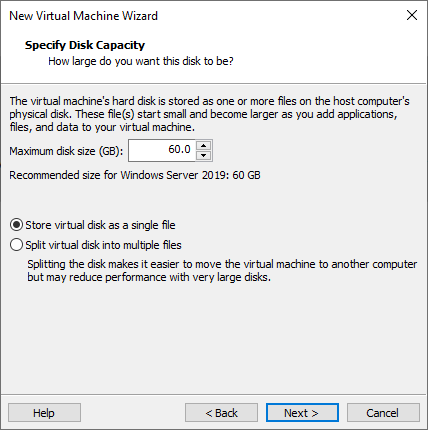
Leave the disk as 60 GB (suggested) but I suggest storing it as a single file. Click Next.
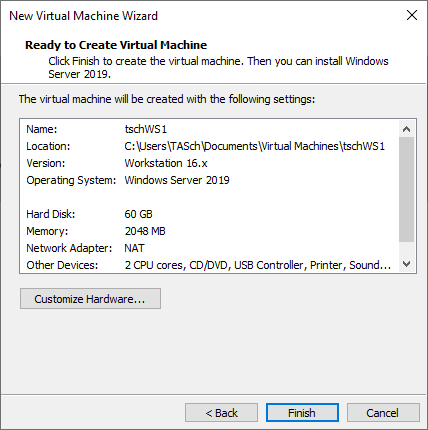
Click Finish on the summary screen.
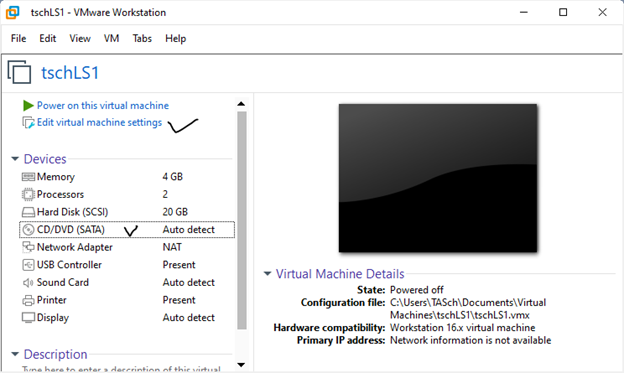
VMware creates an empty VM which we want to boot your Windows Server install image to get it installed on the VM's hard drive. Use Edit virtual machine setting or VM | Settings from the menu to adjust the VM settings.
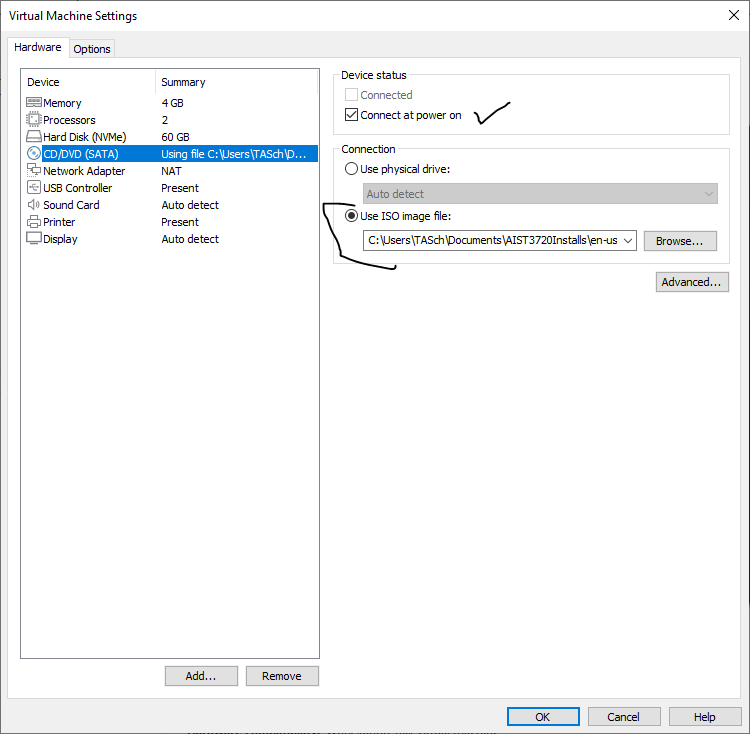
Select CD/DVD. Be sure Connect at power on is checked and use Browse to find the .iso image with the Windows Server install; this is akin to inserting a physical install DVD into a drive on a 'real' computer. Also be sure Connect at power on is checked.
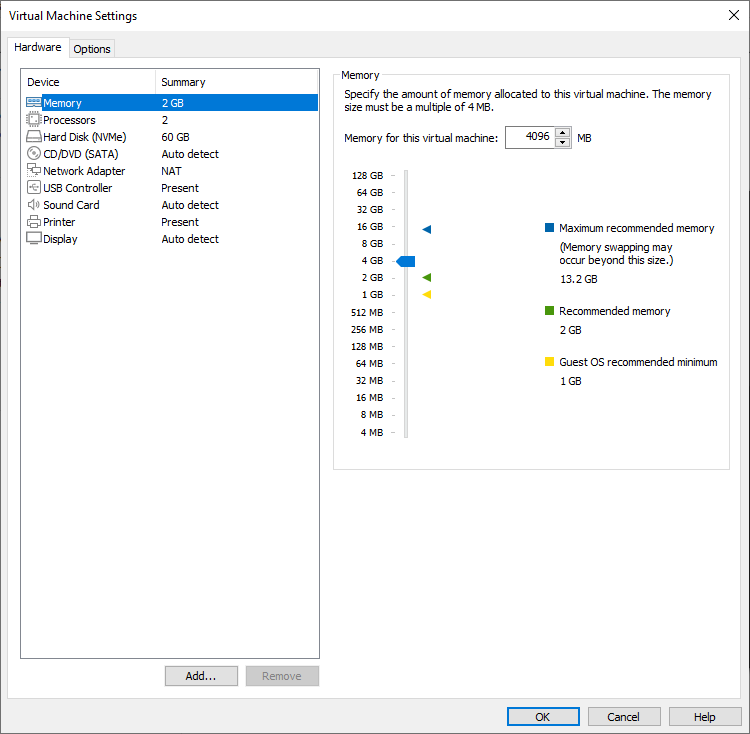
For a Windows Server VM, allocating 4 GB of memory is recommended if at all possible on your computer. So in VM | Settings select Memory and update this to 4096 MB.
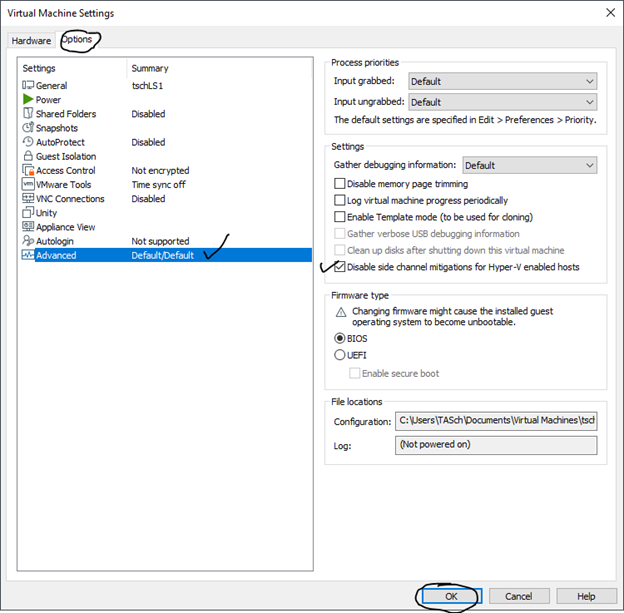
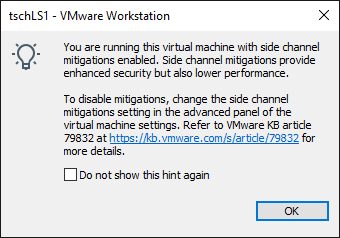
While in settings I suggest using the Options tab and Advanced to check Disable side channel mitigations; this will improve VM performance and for us the security issue is not a concern (it might be if we were managing a hypervisor with several client VMs). If this option isn't available for you, don't worry about it. If you get the message below the screen cap it means you haven't disabled side channel mitigations; not a problem but you need to disable them while the VM is powered down.
Start the Install
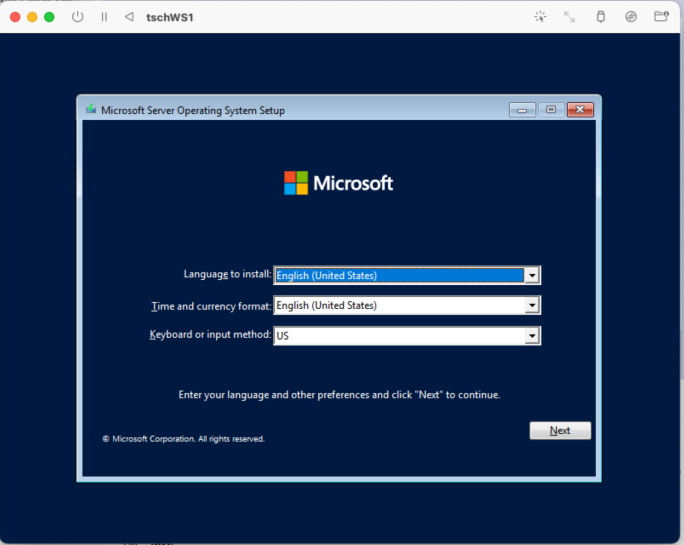
Use Power on this virtual machine (no screen cap) or from the menu VM | Power | Start up guest to have the VM boot from the install DVD. A console screen will show 'Press a key to boot from the CD/DVD' (not shown). It is important to click into this window and press Enter (or another key) within a few seconds so we startup from the install image. If you miss it, just power down and back up using the menu options and try again. You will then segue into a Windows install. Accept (or change if you want) the parameters and click Next.
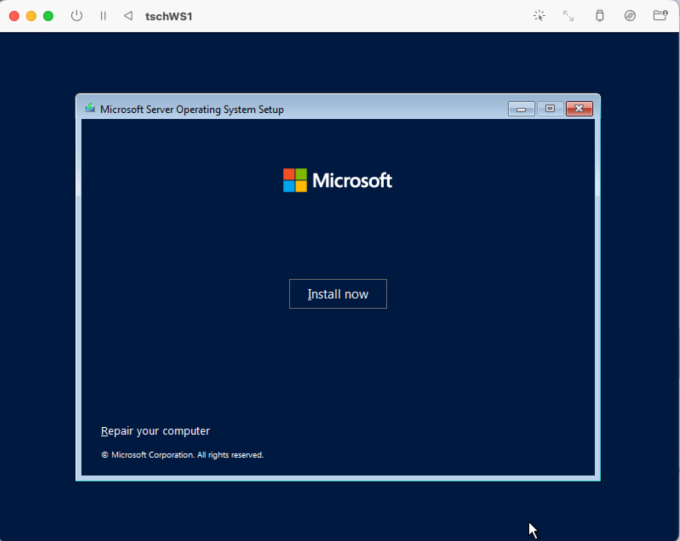
Click Install now; a message will appear (not shown) that Setup is starting.
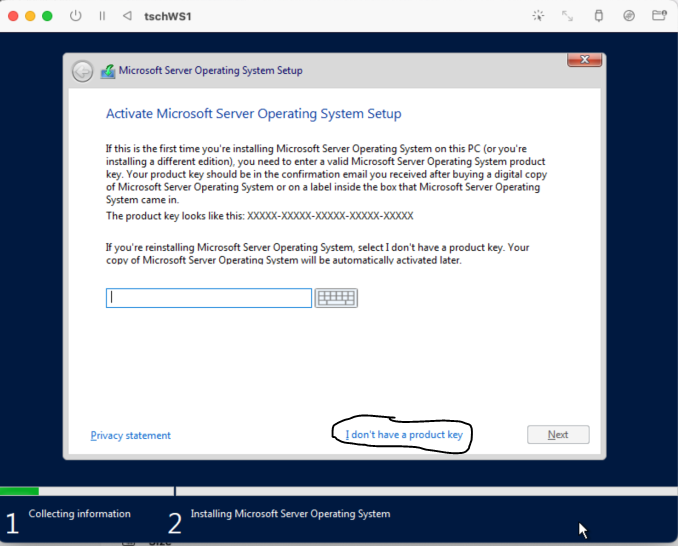
Instead of entering your product key here as part of the install I recommend clicking I don't have a product key with the intention of activating Windows Server after the install. On VMs in particular, entering the key here can sometimes confuse the install.
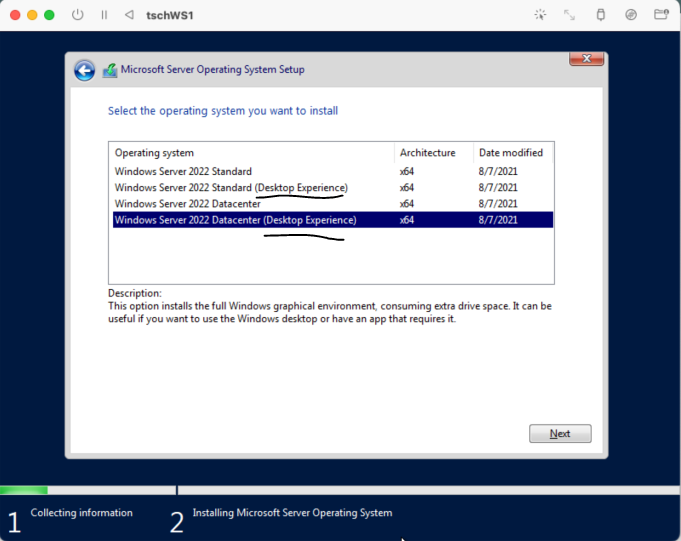
The Datacenter version of Windows Server is recommended though, truly, we won't be using features that aren't available in the Standard version. Be sure to choose a Desktop Experience version, otherwise you get only the command prompt. A non Desktop Experience version is preferred for production servers which will be managed remotely, but not the best for learning to administer a Windows Server. Click Next.
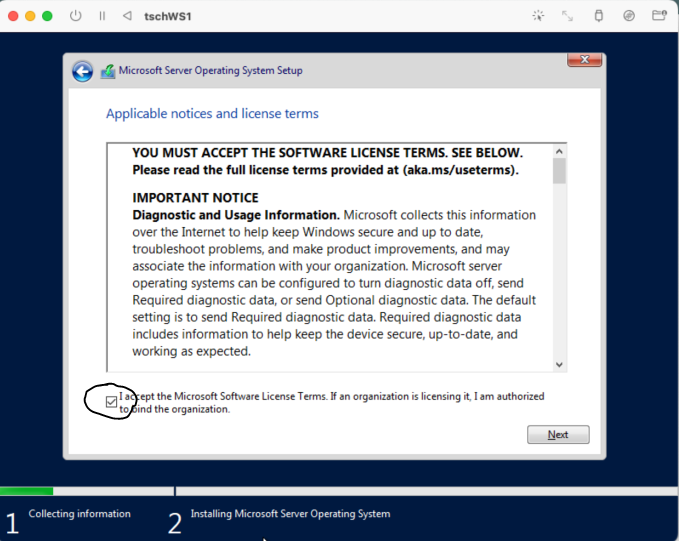
Accept the License Terms (the course will not ask you to do anything that violates them) and click Next.
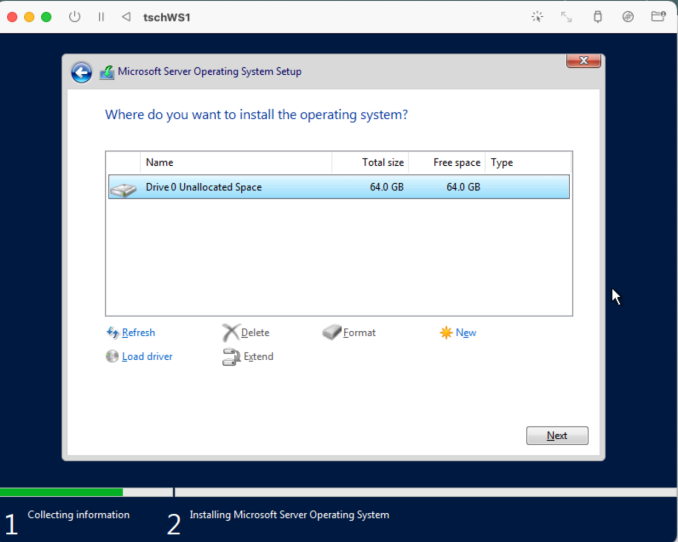
Choose a Custom installation since this is a brand new install, not an upgrade.

Keep the default location for the OS as (our only) Drive 0 (aka the C:\ drive in the VM). Drives and partitions are a topic for another day. Click Next.
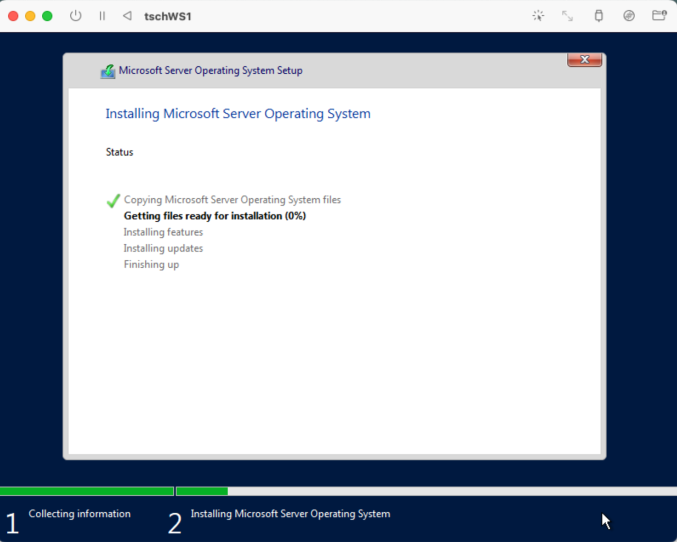
Windows will run through its install. This can take awhile so be patient. You can use your computer for other things while the installation is running but it is not a good time to hibernate or shut down your computer.
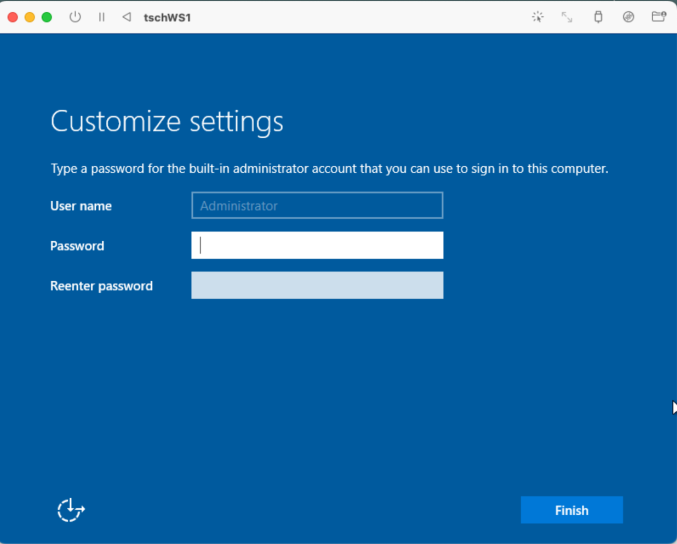
System will restart and re-display the 'Press a key to start from DVD or CD' message again. Ignore it this time since we want the system to start from its hard drive with the newly installed Windows Server OS. After a bit you will be asked to provide a password for the built-in Administrator login ID. I think you can leave this blank (i.e., not have a password) for a local Windows Server (i.e., not involved in Active Directory), and given that it's an emulated VM living in your Mac, this wouldn't be too much of a security risk. But probably better to establish a password and Pw4AIST3720! meets all Microsoft and most other default password requirements. I suggest you use this ... or something else you can remember ... for all the various passwords you will apply in the course VMs (using the same password for multiple accounts is not something I'd recommend, natch, for real-life). So enter a password and click Finish.
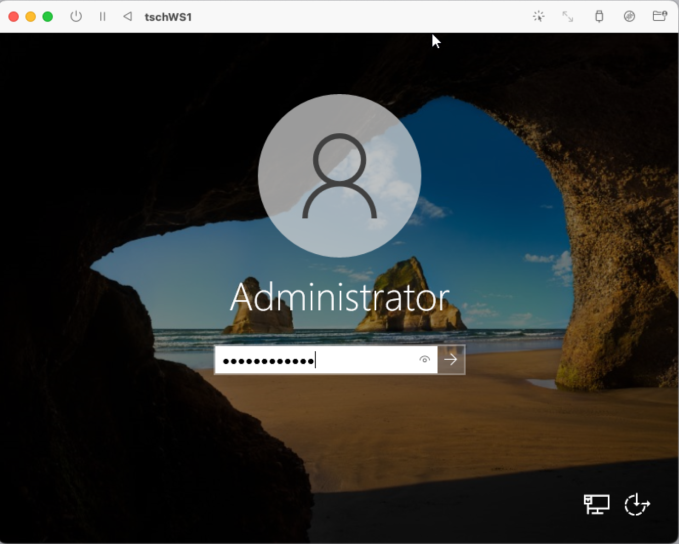
When you first start up or log in again, Windows Server wants Ctrl+Alt+Delete to unlock. If you enter this your PC will intercept it so use VM | Send Ctrl+Alt+Delete from the menu instead.
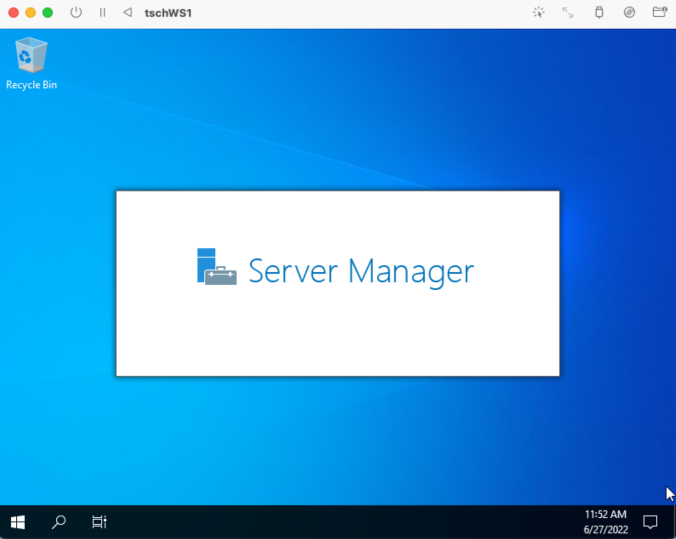
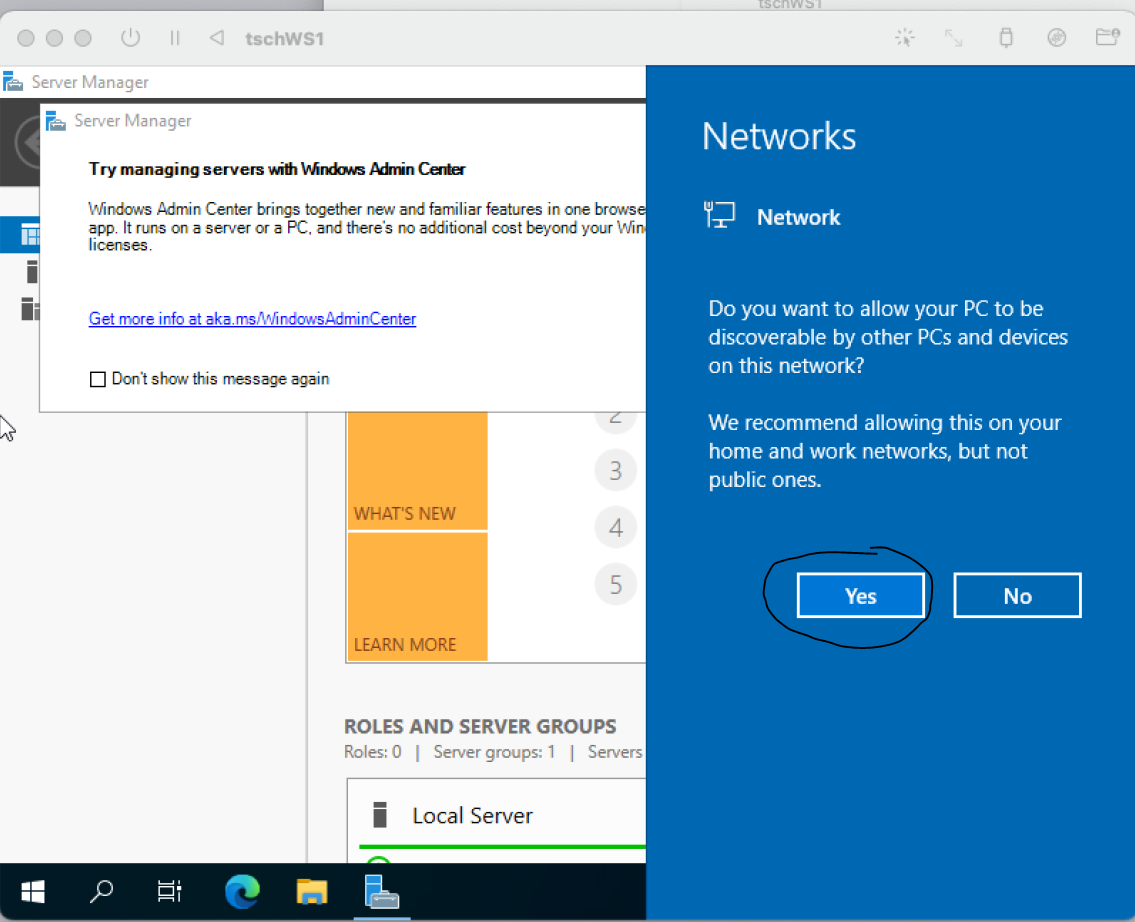
As initially configured, Windows Server will load Server Manager when you login as Administrator.
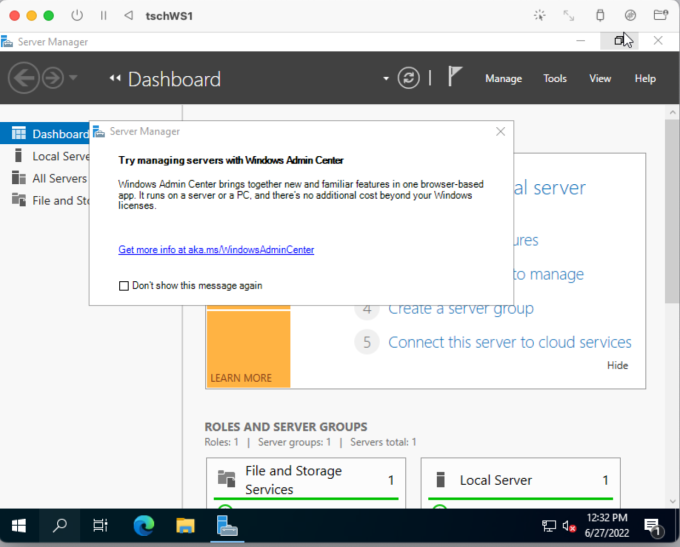
You can dismiss the notice about Windows Admin Center (a browser based utility for remotely managing multiple internet connected servers), perhaps checking the Don't show this message again box. Make your server discoverable if you get a popup about network discovery.
Installing VMware Tools is recommended. Click Install Tools if you get this popup at the bottom of your screen or use VM | Install VMware Tools from the menu. I'd choose Typical when installing the tools. A restart will be required after installation.

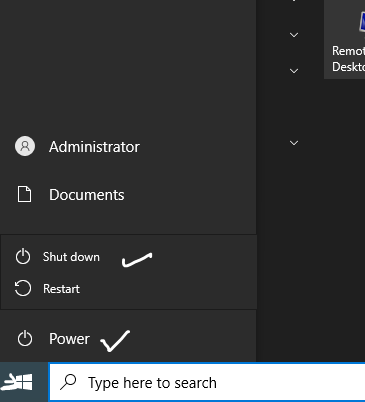
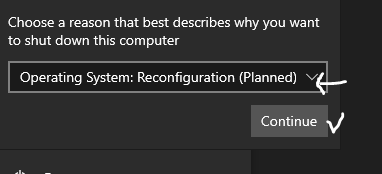
When shutting down a Windows Server you will be asked to provide a reason. You can just click Continue but not a bad habit for audit trail purposes to choose the reason that comes closest to why the server is being restarted. Server restarts are typically rare but in our use as a VM we'll stopping and starting more often than usual.
It's probably a good idea to let your VM have a good 'burn in' run before trying to do too much with it (i.e., just let it run for awhile ... maybe 15 to 30 minutes); you can still use your host computer while this is going on. There is a lot of installation activity that needs to take place in the background and it can be frustrating to try to set up the server while it's still getting on its feet.