Using a Mac
Prerequisites
Your Mac is running macOS 10.14 or later. You know your remote desktop DNS name / computer name / IP address and your remote desktop user name and password. In the screen shots below the DNS name is vm-1.techcats.solutions and tschultz is the user name.
Quick Access to a Remote Desktop
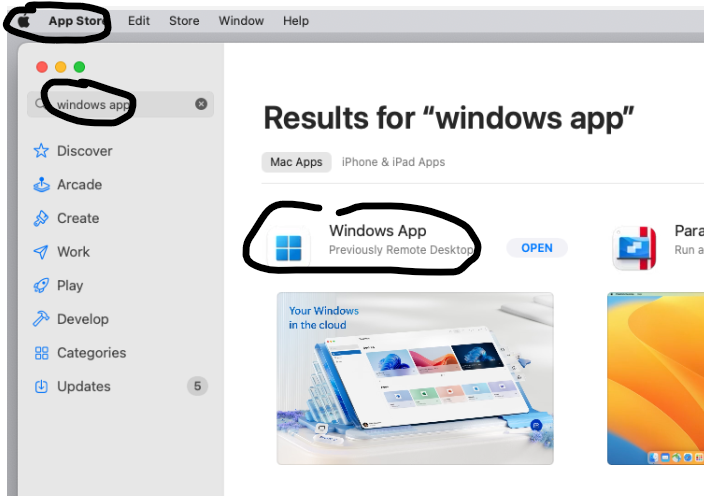
Open the Apple Store and search for Windows App. Click GET and then INSTALL (where OPEN shows in the screen cap below). You may have to authenticate with your AppleID. After installation click OPEN. On your first use you will get some popups about notifications, sharing your microphone and camera with Windows App (not typically needed) and sending feedback to Microsoft; choices are up to you.
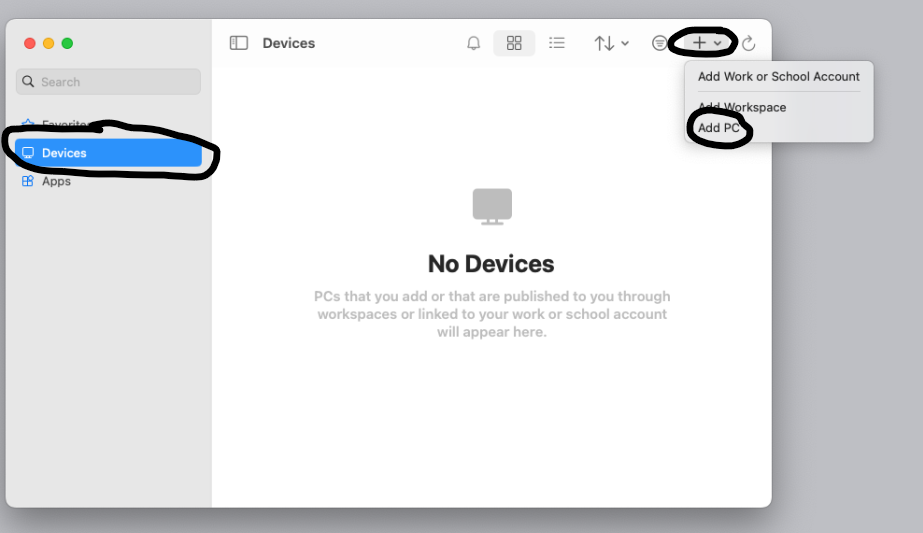
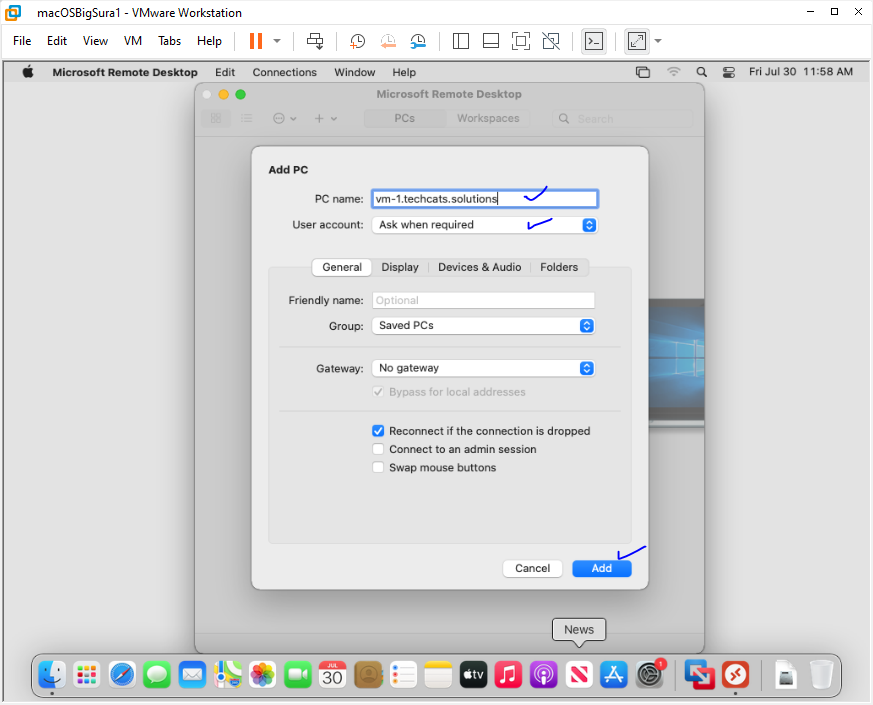
In Windows App select PCs and then click Add PC.
\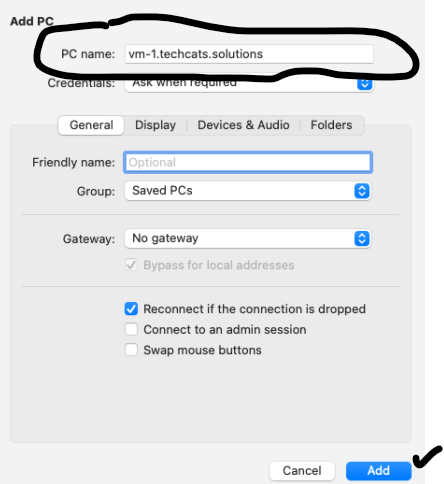

For a quick login enter your remote DNS Name, computer name or IP address next to PC name, leave User account Ask when required and click Add.
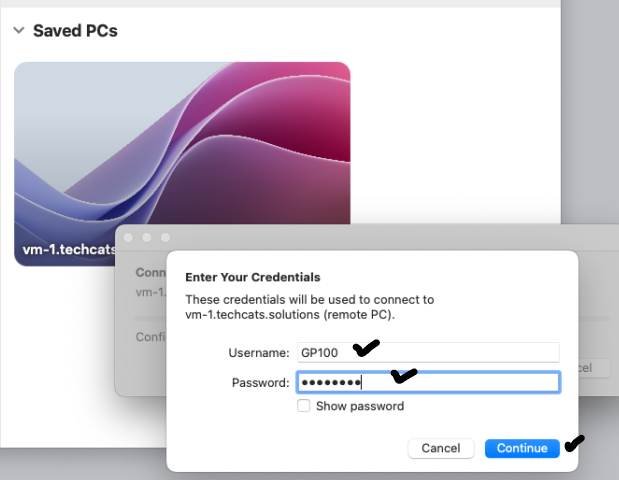
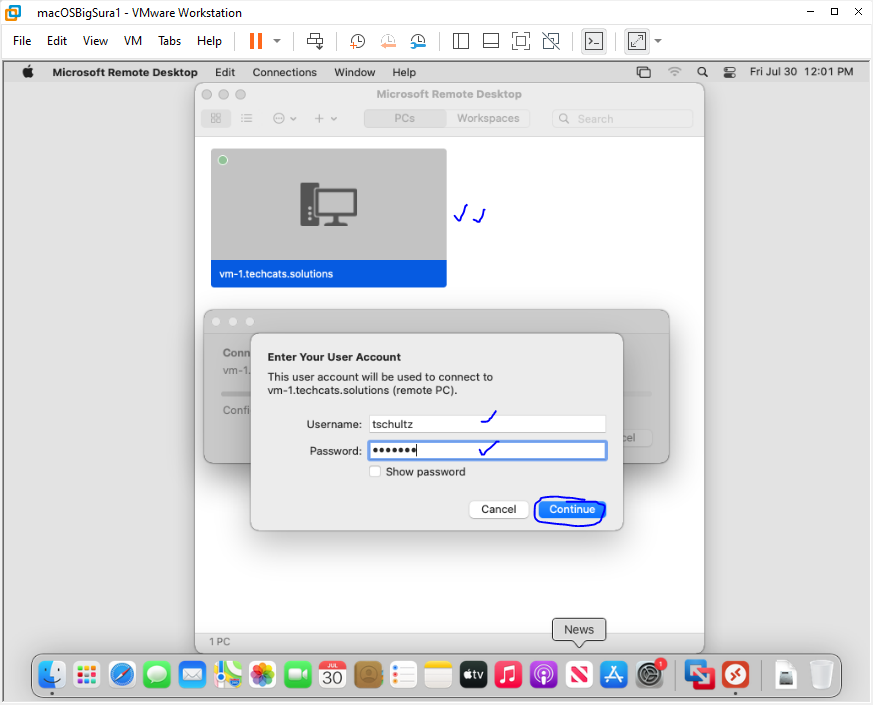
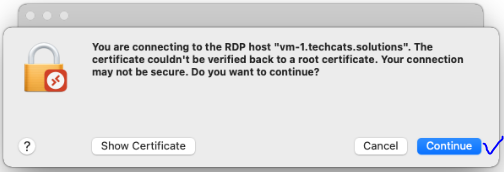
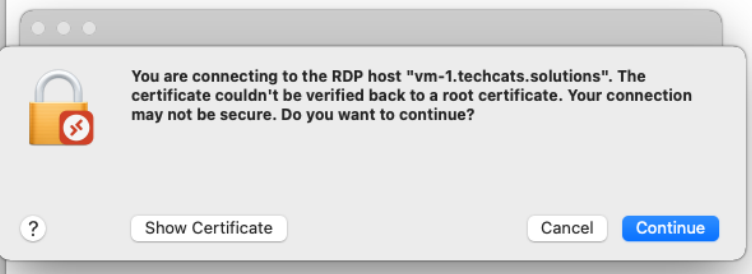
To connect to the remote desktop double-click it in MsRDP, enter your RD username and password, click Continue and click Continue on the certificate warning if you get it.
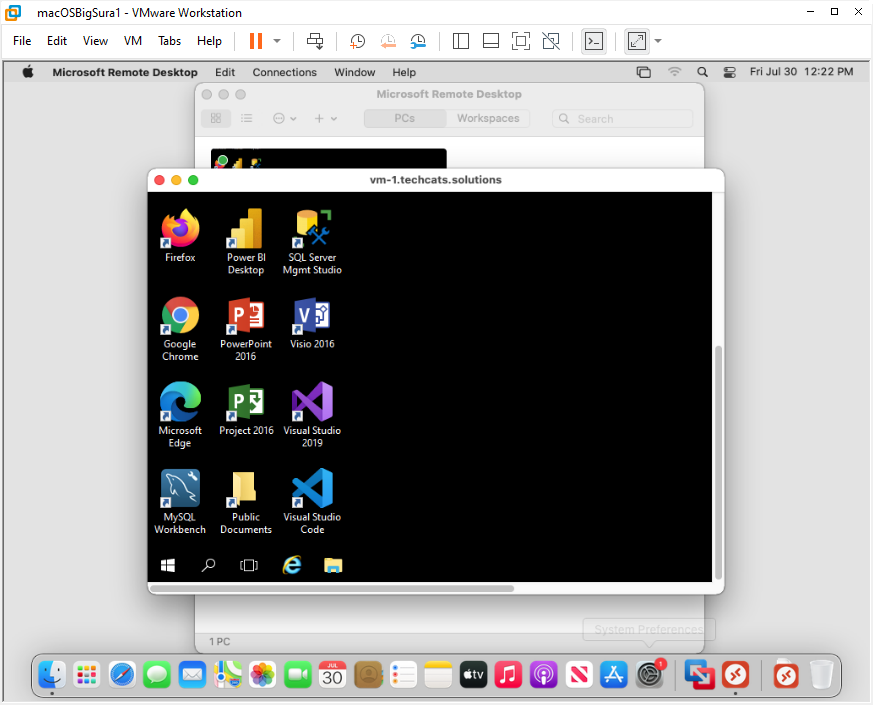
You should connect to the remote desktop (RD). The RD may fill the full screen but you can hover near the top of screen to get the MsRDP app menus to be able to work with properties of the RD window. When done logout of the remote desktop and close the MsRDP app.
Making Access Easier and Better
Save your RD login credentials
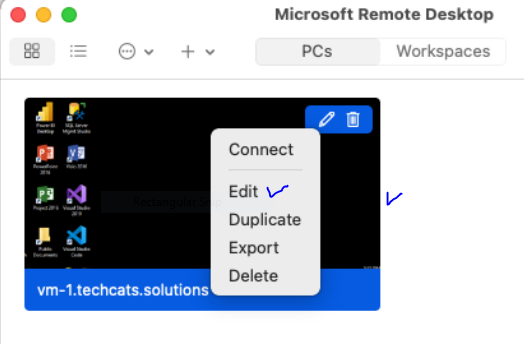
To skip having to re-enter your RD login credentials for every remote login edit the saved PC in MsRDP (right-click the PC icon and choose Edit)
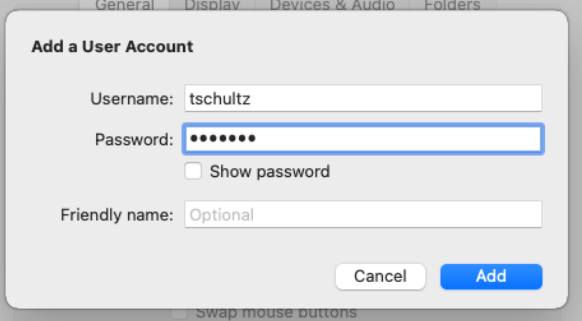
Using the General tab of Edit PC, click the pull down next to User account and select Add User Account rather than Ask when required.
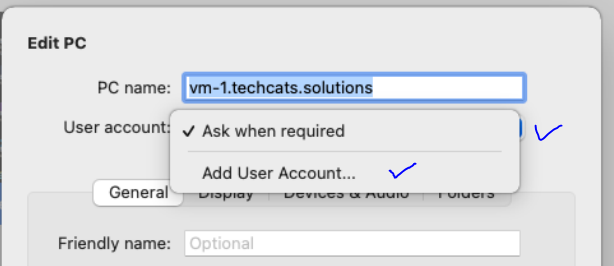
Enter your Username and Password and -- optionally -- give this login a nickname aka Friendly name and click Add. Click Save on the Edit PC window to save changes. The saved credentials will be sent to the remote desktop when you double-click the saved PC icon.
Remove certificate warning
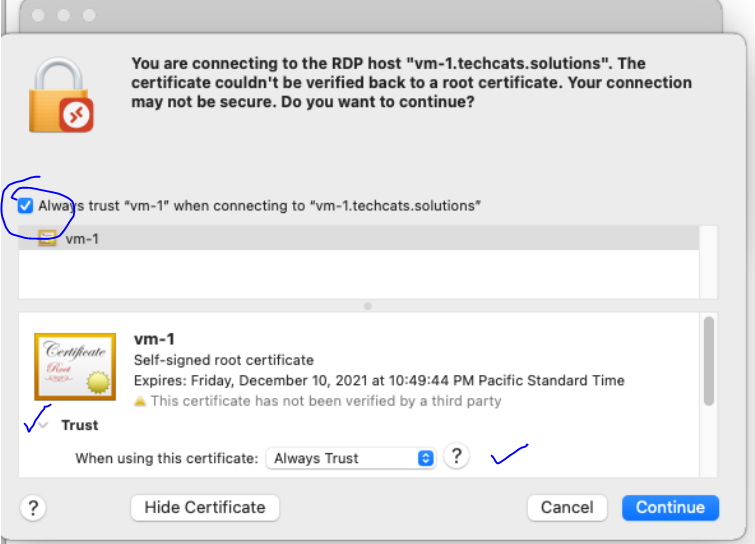
To avoid the certificate warning at every login (if it pops up) click Show Certificate when it pops up. Then use the 'Always trust' checkbox or open up the Trust pull-down and select Always Trust there. Click Continue and you will be challenged for your Mac credentials to change the settings. This warning will no longer popup at remote login.
Customize your setup
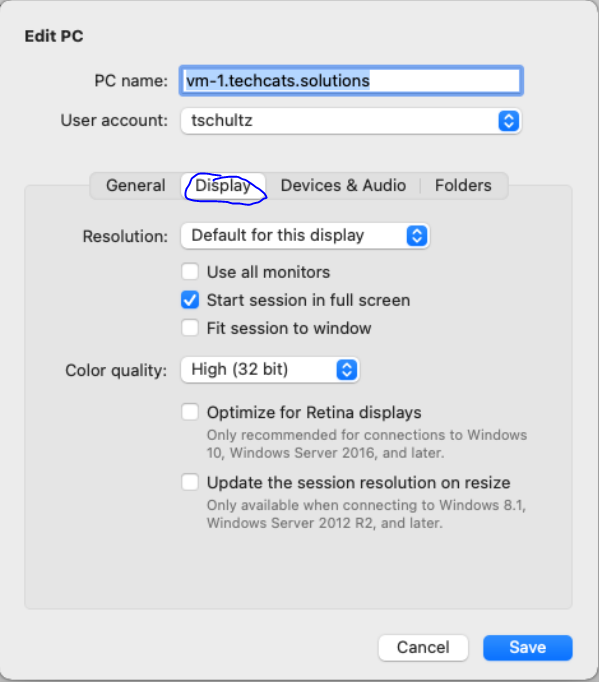
When you right-click a saved PC icon and choose Edit, other important aspects of your remote sessions can be adjusted. Be sure to Save any changes before starting your remote session.
Use the Display tab to control aspects of the display (e.g., don't have the remote desktop start in full screen or use multiple monitors).
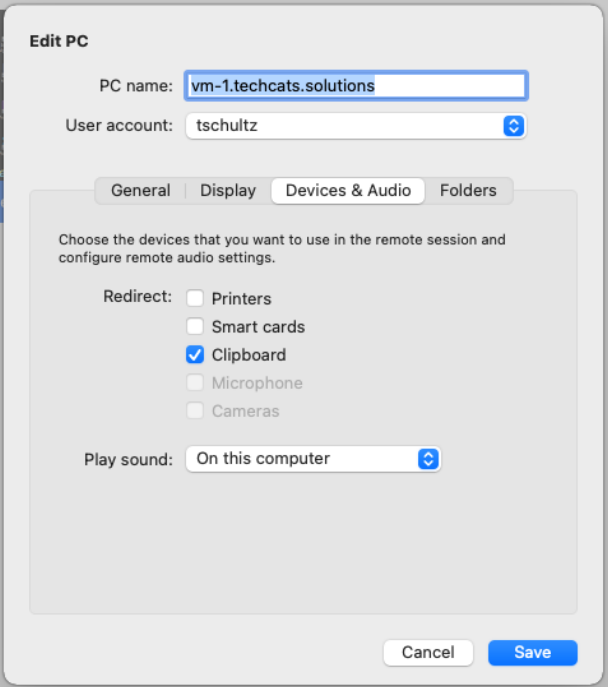
Use the Devices & Audio tab to identify devices on your computer you'd like the remote session to be aware of (e.g., print from the remote session to your printer).
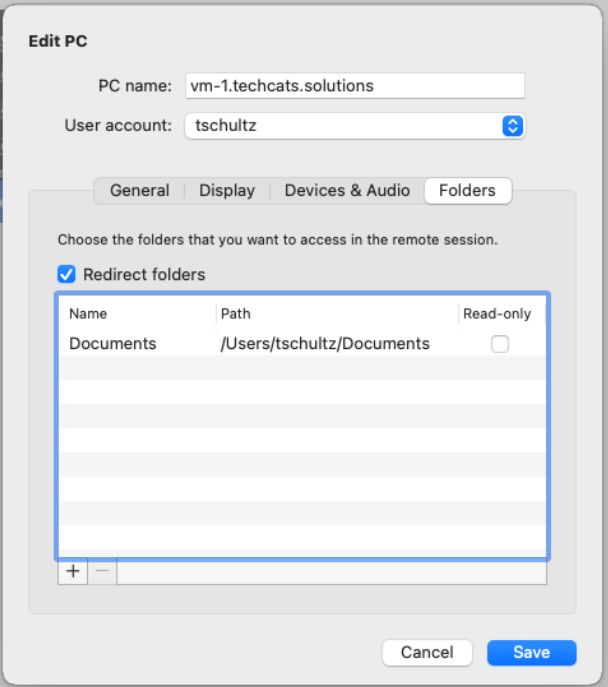
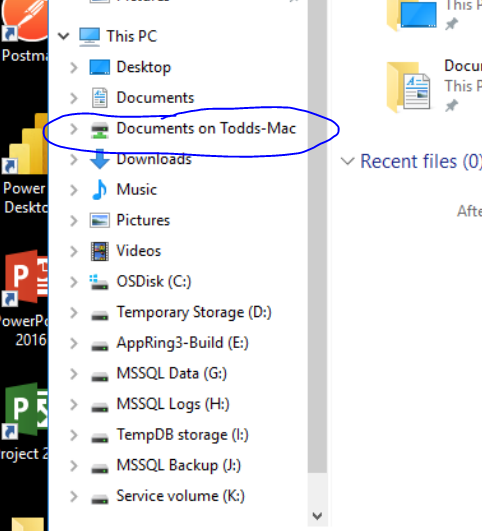
Use the Folders tab to make folders from your Mac available in the remote session (e.g., so you can save files to your Mac from the remote session). In the example below, the Documents folder on the Mac was added (use the plus sign at the lower left) as a redirect folder.