Add Drive to VM
The steps below add a new, blank hard drive to a VM. This would be analogous to purchasing a new drive and installing it physically with the computer's hardware. The disk won't be usable until it's partitioned and configured using the VM's operating system.
Note: Be sure your VM is powered off (not just paused). If you add a disk to a running VM it won't be recognized until the next power off / power on. Also be sure your host computer has enough space to store the added drive.
Add a drive using
VMware Workstation on a PC
Use VM | Settings and click the Add button at the bottom-leftish of the Hardware tab.
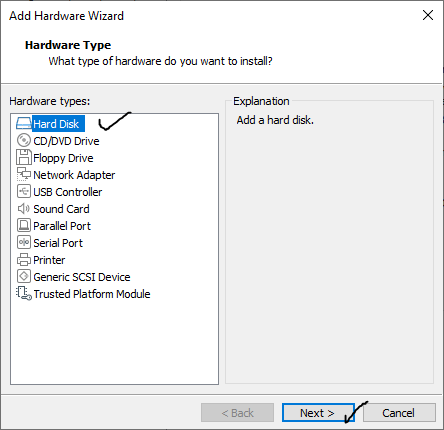
Select Hard Disk and click Next
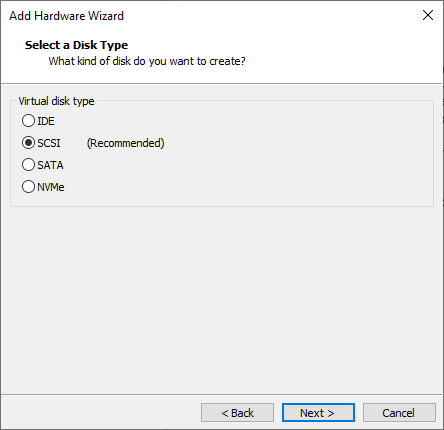
Accepting the recommended disk type is probably fine (or choose the same disk type as the existing drive) but it can be changed if you want before clicking Next.
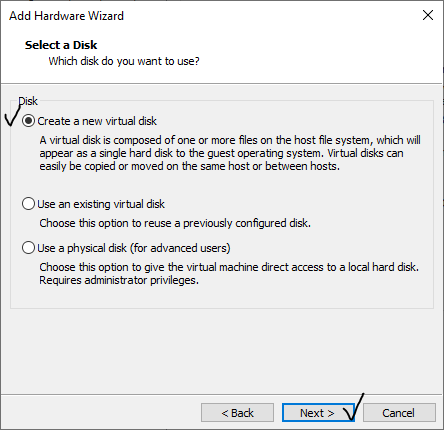
Leave Create a new virtual disk selected and click Next.
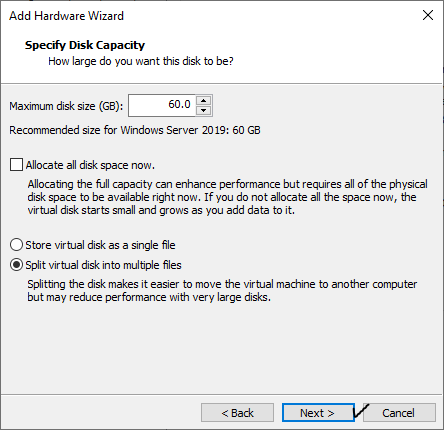
Accepting default parameters should work but they can be adjusted if needed before clicking Next.
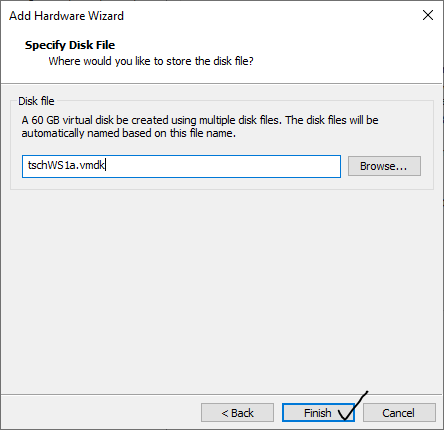
The virtual disk's file name (and location) on the host can be changed if needed before clicking Finish.
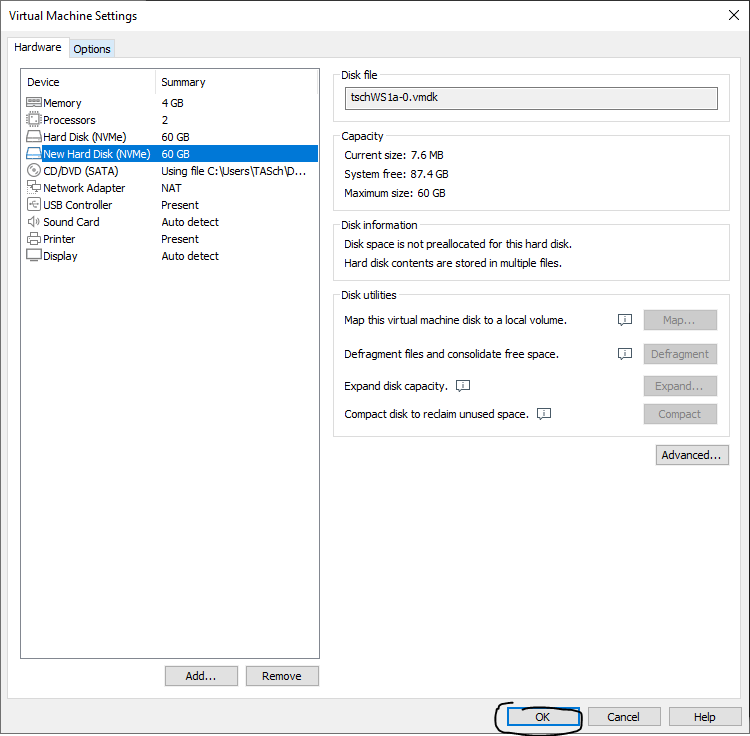
Notice the New Hard Disk as part of the VM's hardware list and click OK to add the hard drive (Cancel to not add it after all). Start up the VM when ready to partition and configure the disk.
VMware Fusion on an Intel Mac
Use Virtual Machine | Settings and click the Add Device button in the upper-right corner of the Settings page.
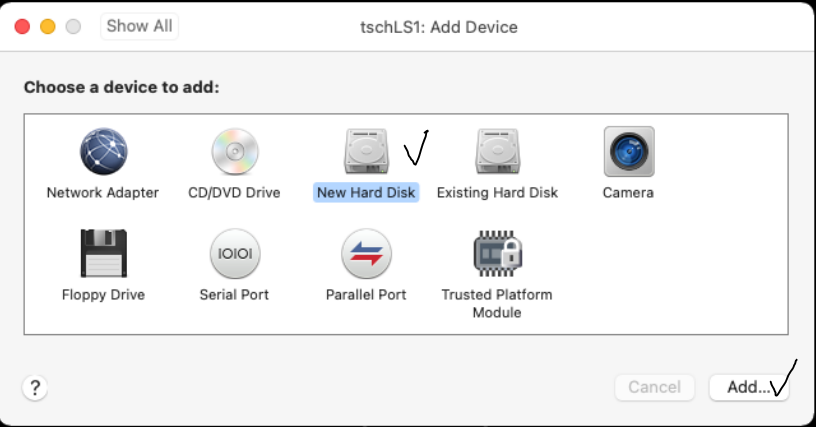
Select New Hard Disk and click Add.
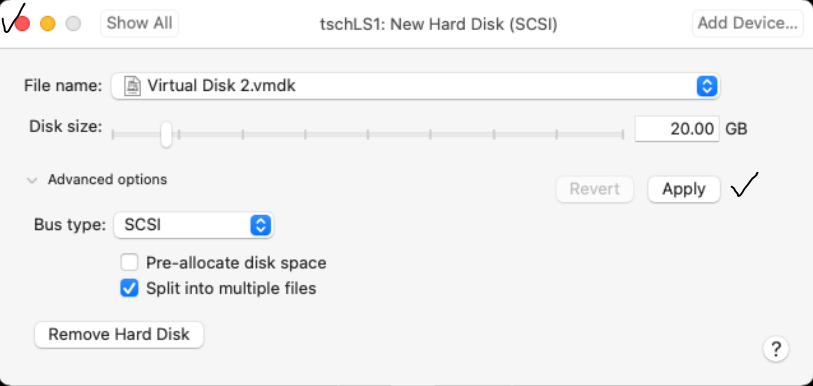
Leaving defaults is probably fine but depending on your intent, the size, name of the hard disk file on your host, or bus type for the disk can be modified. When done choosing the hard disk's configuration, click Apply and then exit the dialog (red X in upper-left corner).
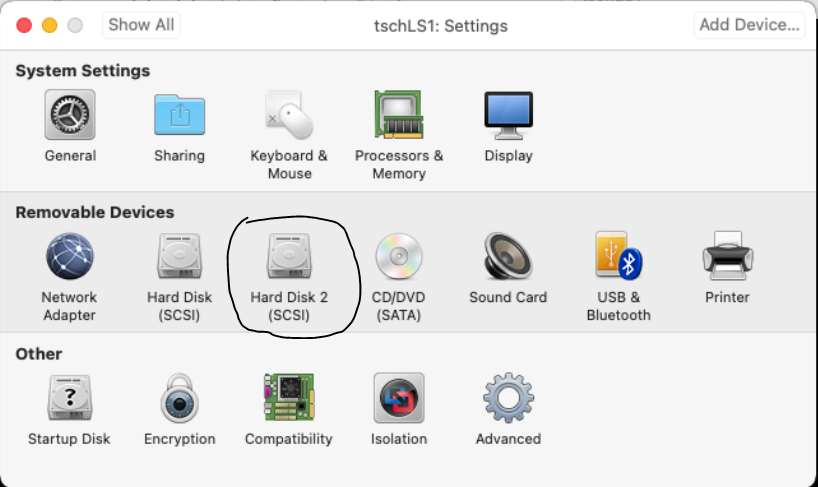
If you return to Virtual Machine | Settings you should notice the new drive in Removable Devices. Exit the Settings dialog and start up the VM when ready to partition and configure the disk.
UTM on an M1 Mac
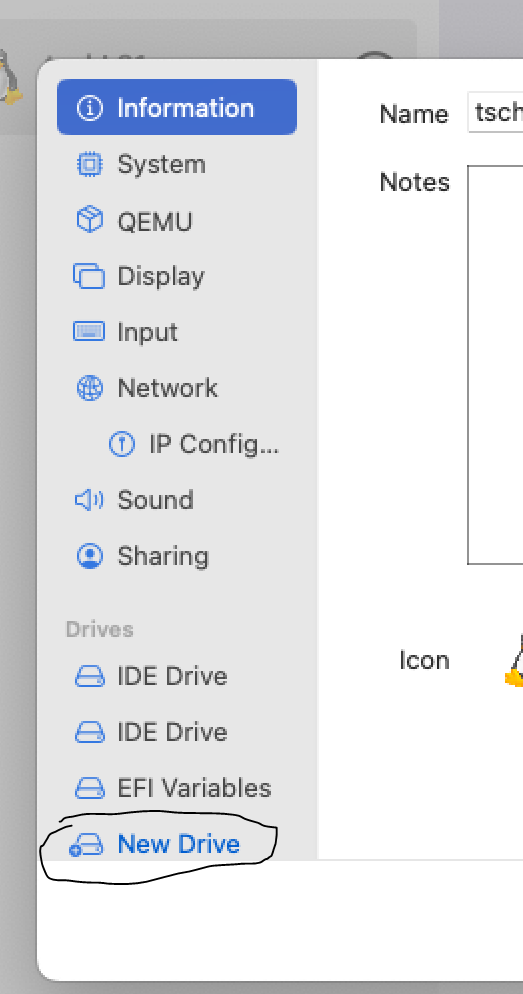
Right-click on the VM to receive the new drive and choose Edit.
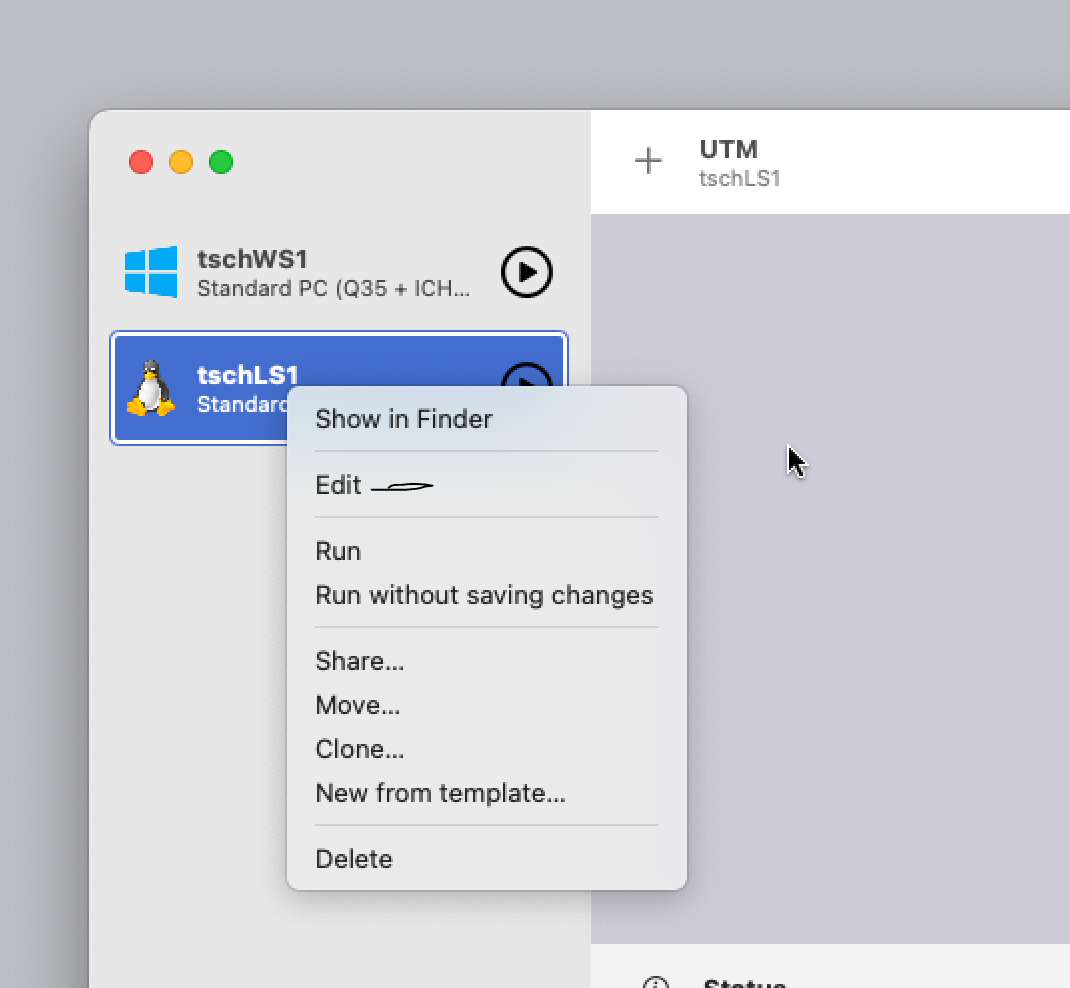
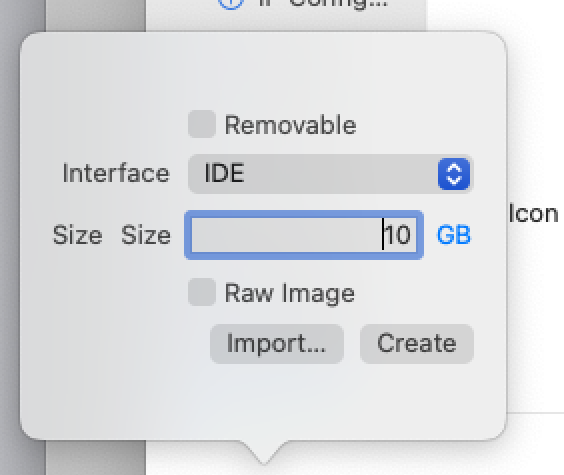
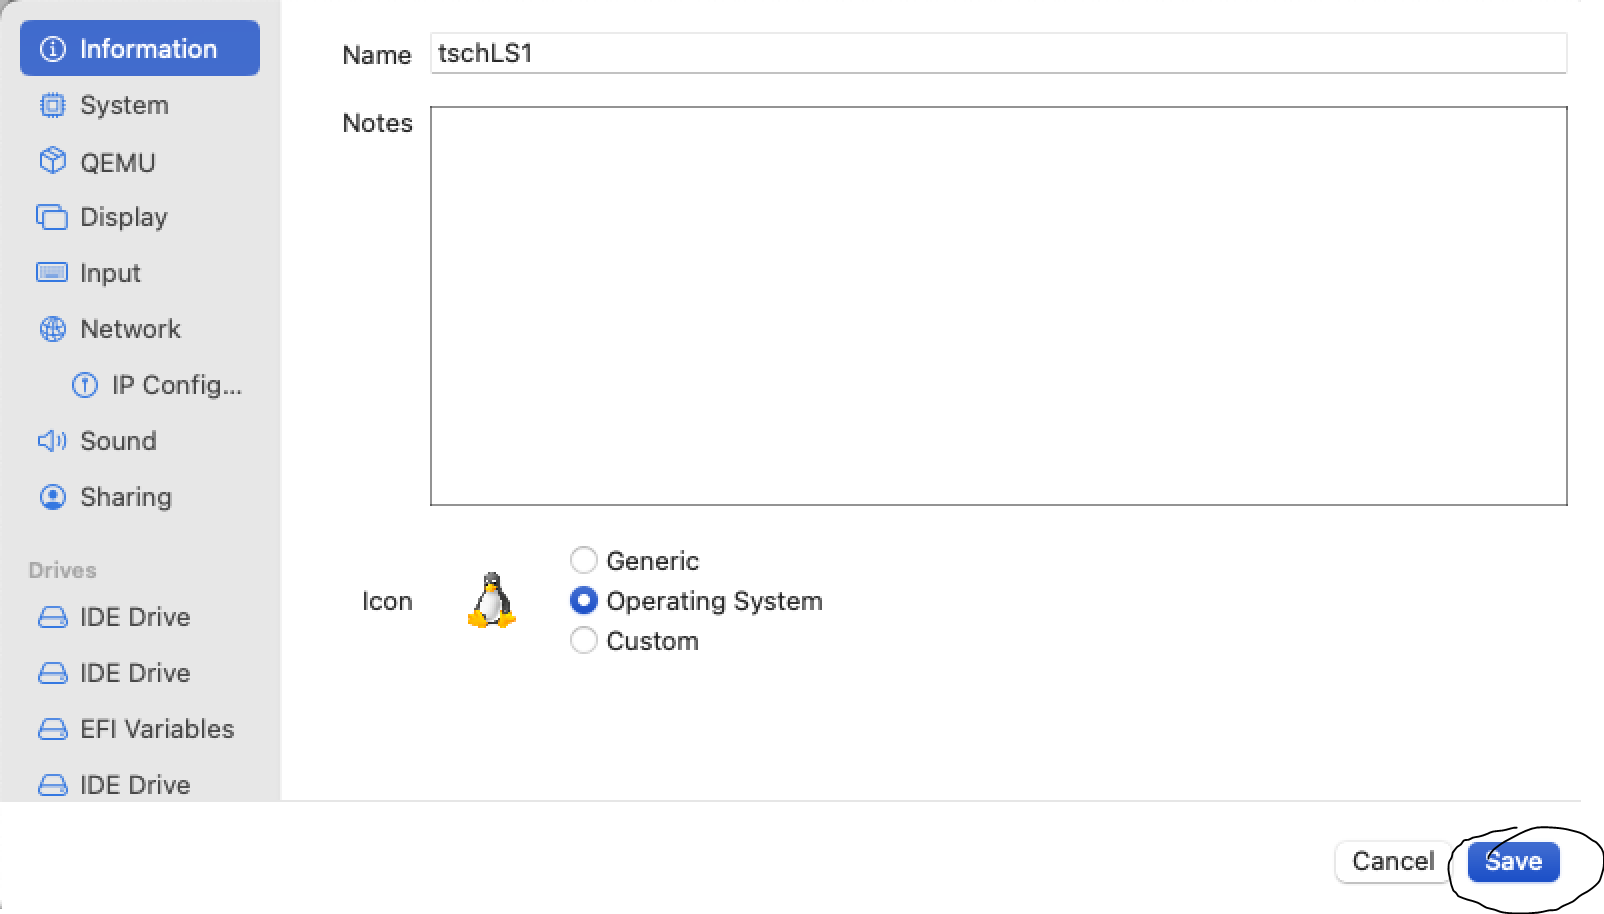
On the menu that pops up choose New Drive. Configure the drive as desired (i.e., interface and size) but since this is a new internal hard drive, don't check Removable; click Create to and then click Save at the bottom right of the menu to commit the hardware changes.