Configure New Windows Disk
Reference: Create a New Partition in Windows Server
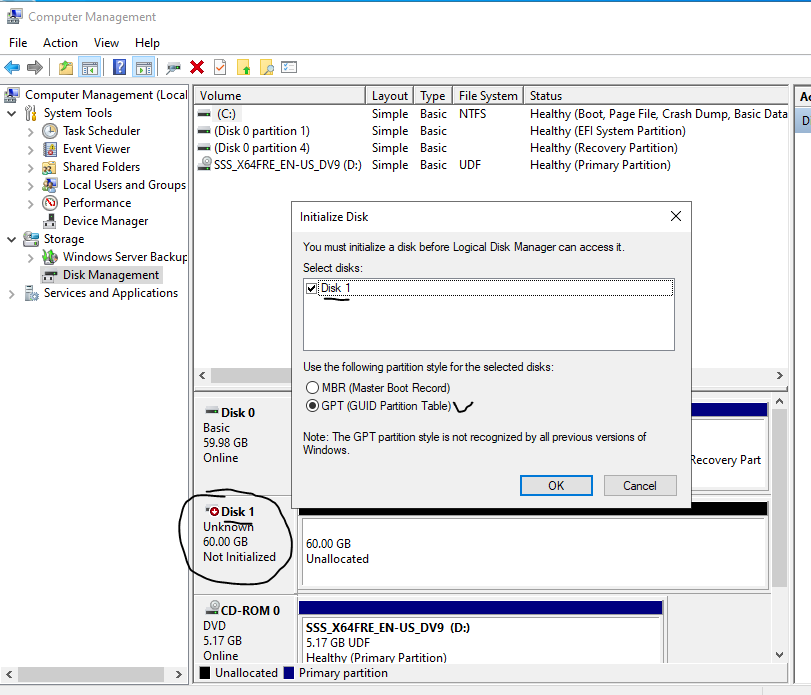
Note: Configuration of a new disk can be done from the command line in Windows (e.g., see Reference above) but the steps below use the Computer Management GUI. This tutorial assumes you have added a new, blank disk to your Windows Server VM (e.g., see Add Drive to VM). When you restart your Windows Server VM after installing the new hard disk, open Computer Management and select Disk Management. The new disk will be recognized -- Disk 1 in the example below -- and you will be asked to initialize it; accept the defaults and click OK to initialize the disk as a 'normal' extra, internal disk (our goal in the tutorial).
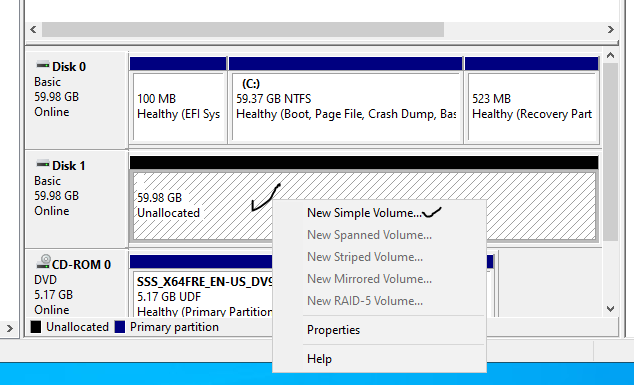
The new disk will now show as 'Unallocated' and our goal is to create a single partition on the drive, using all the space, and make this available to the OS as another drive. Right-click in the hashed, unallocated area and choose New Simple Volume for this disk space.
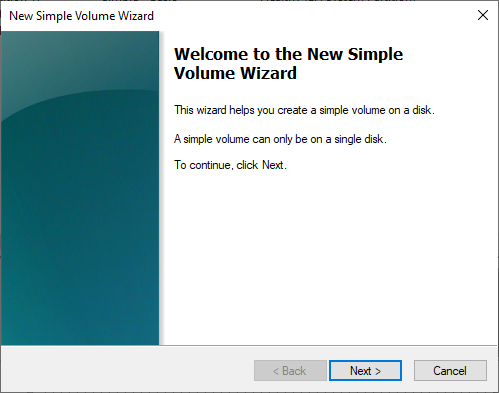
In typical Windows fashion, this wakes up a Wizard; click Next to get it started.
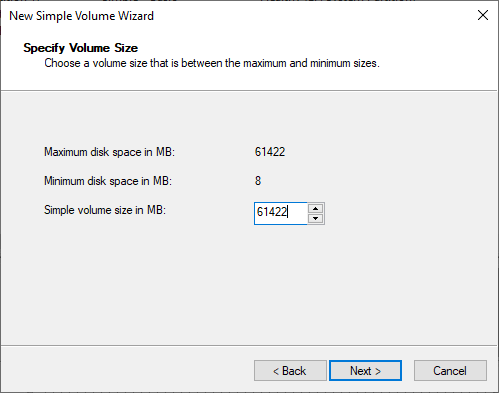
A disk can be broken into multiple volumes but in our case we want all the space so keep the 'Simple volume size' at the default which is equal to the 'Maximum disk space'. Click Next.
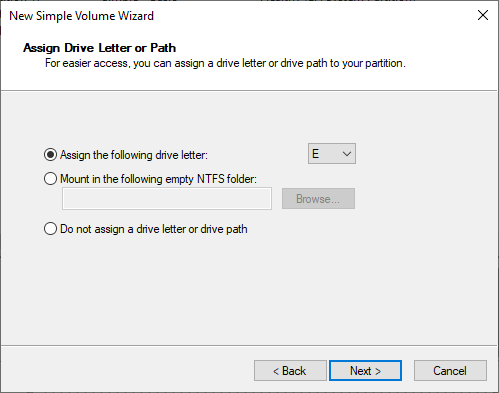
We want this to appear to the OS as another drive so assign a letter (keeping the default drive letter is suggested) to the drive. Click Next.
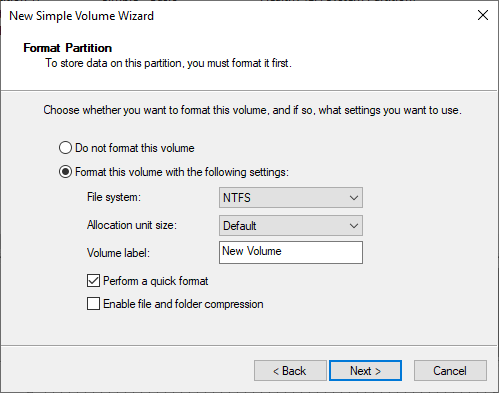
The new disk needs to be formatted with a file system; again, defaults work great for our purposes but you might make a different Volume Label to better name the volume for OS users. Click Next.
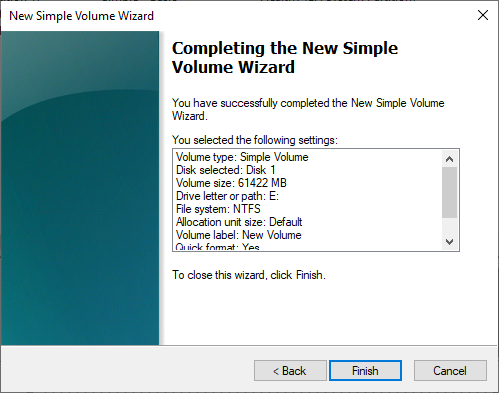
Click Finish to have the wizard complete the work.
There is now a new drive (E: in this case) named New Volume that can be used to store files and shares.
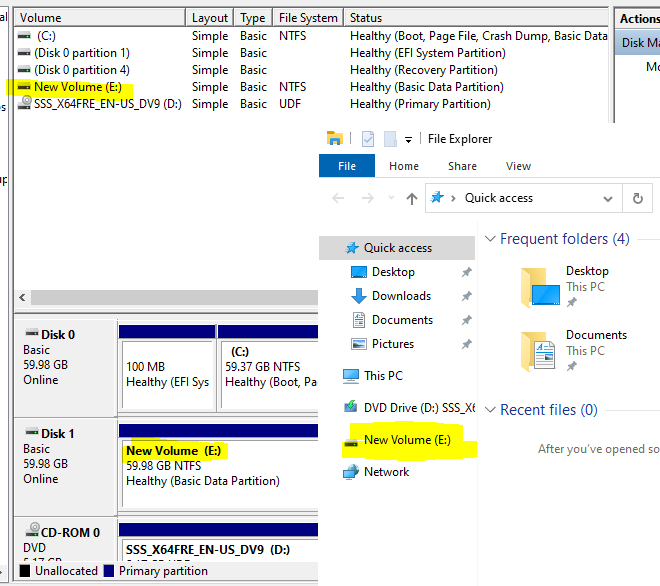
As a default you will need to use elevated privilege to access the new volume but it can now be configured as needed.
