SQL Server in Windows
Install SQL Server
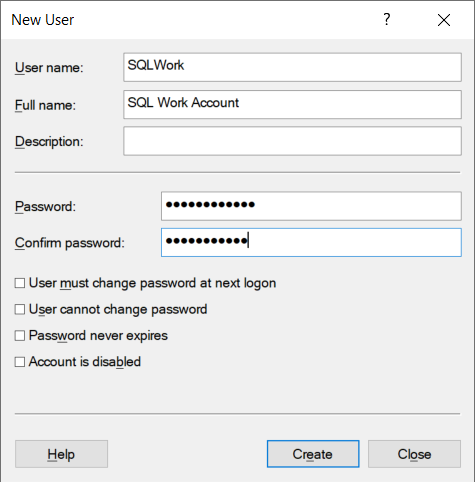
In a Windows Server it is 'best practice' to create a user account as the authority to run a service. So create a user SQLWork to provide this account for the SQL Server install.
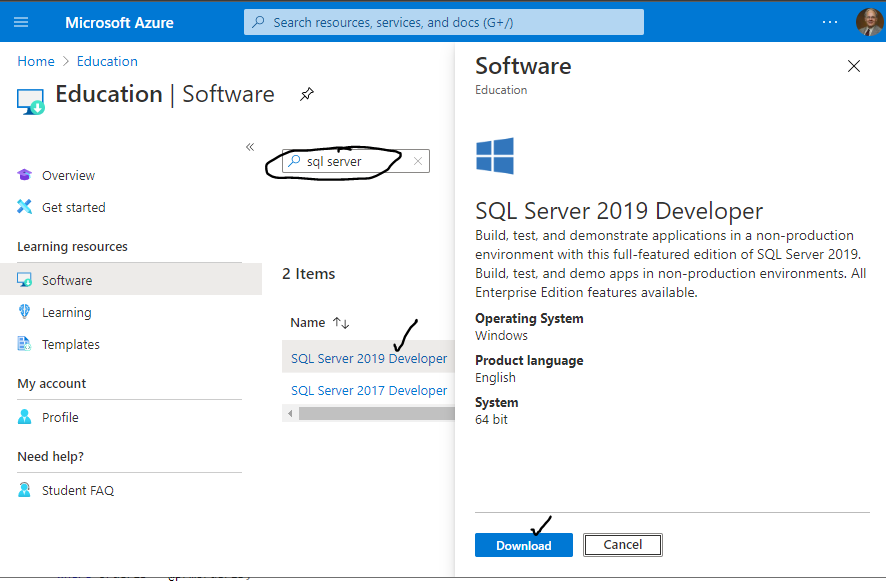
It's easiest to download the SQL Server install into your VM so from within your VM visit Education | Software in the Azure Portal using your @augusta.edu credentials for authentication. Search for SQL Server and click the latest SQL Server Developer edition. On the new blade click Download, placing the .iso where you can find it; no product key will be required to install SQL Server Developer edition.
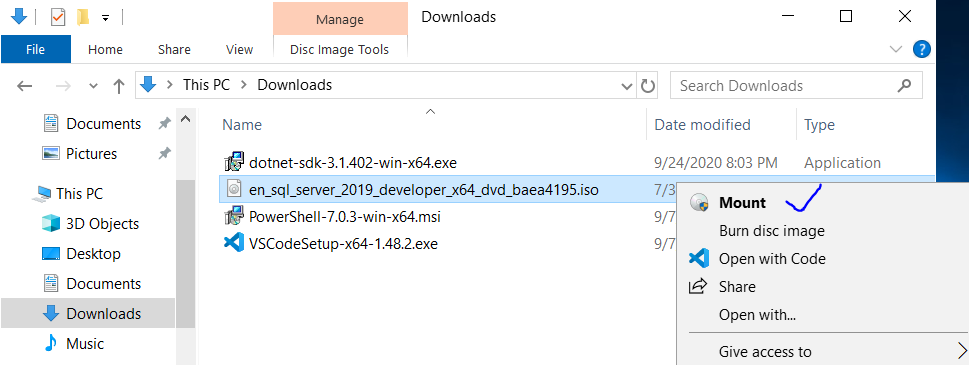
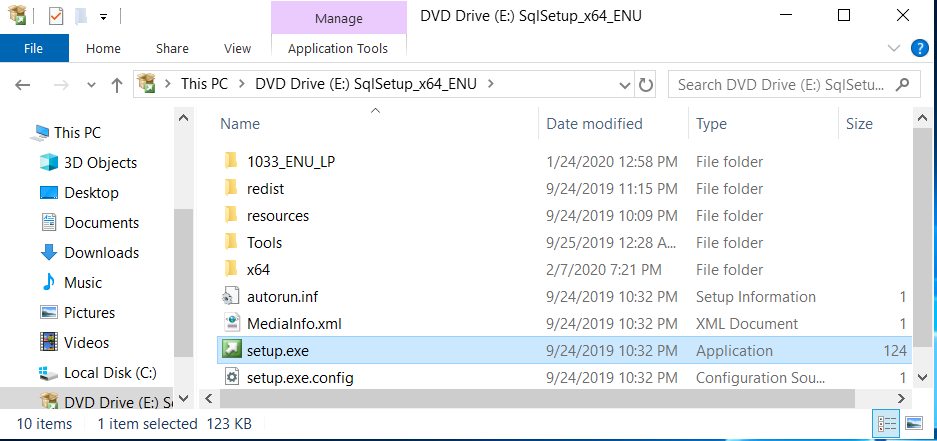
In your VM find the SQL Server .iso download in File Explorer, right-click it, and choose Mount. Double-click setup.exe in the virtual DVD drive created.
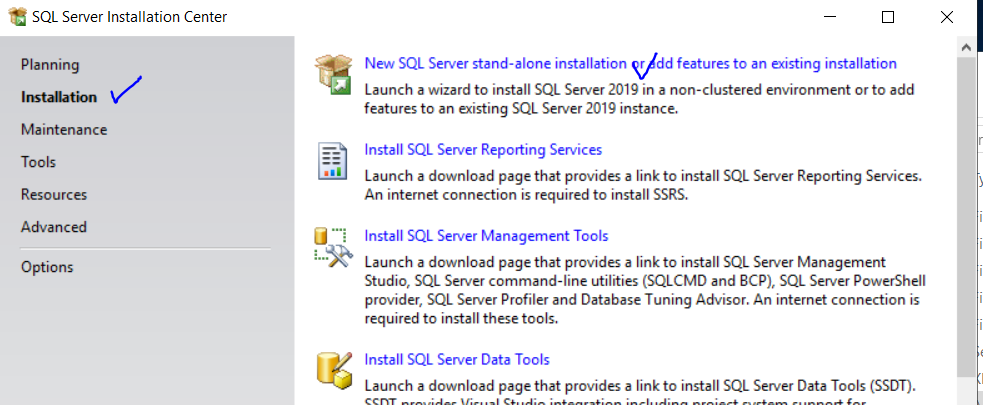
On the install start screen select Installation | New SQL Server installation.
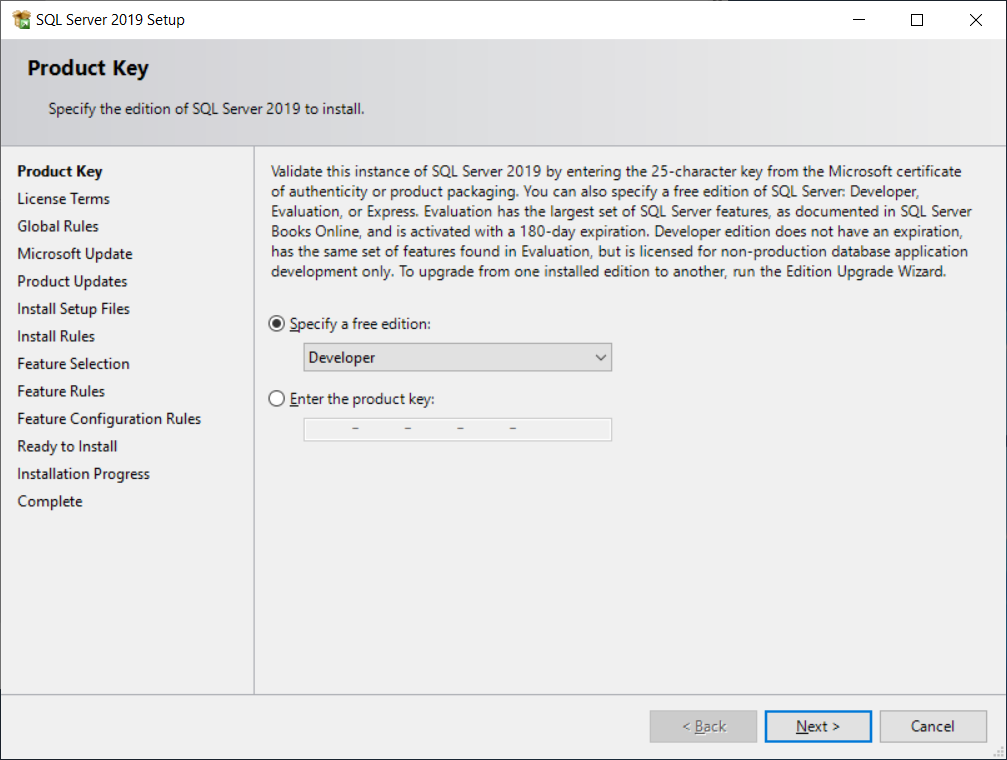
No product key is needed for Developer edition so click Next.
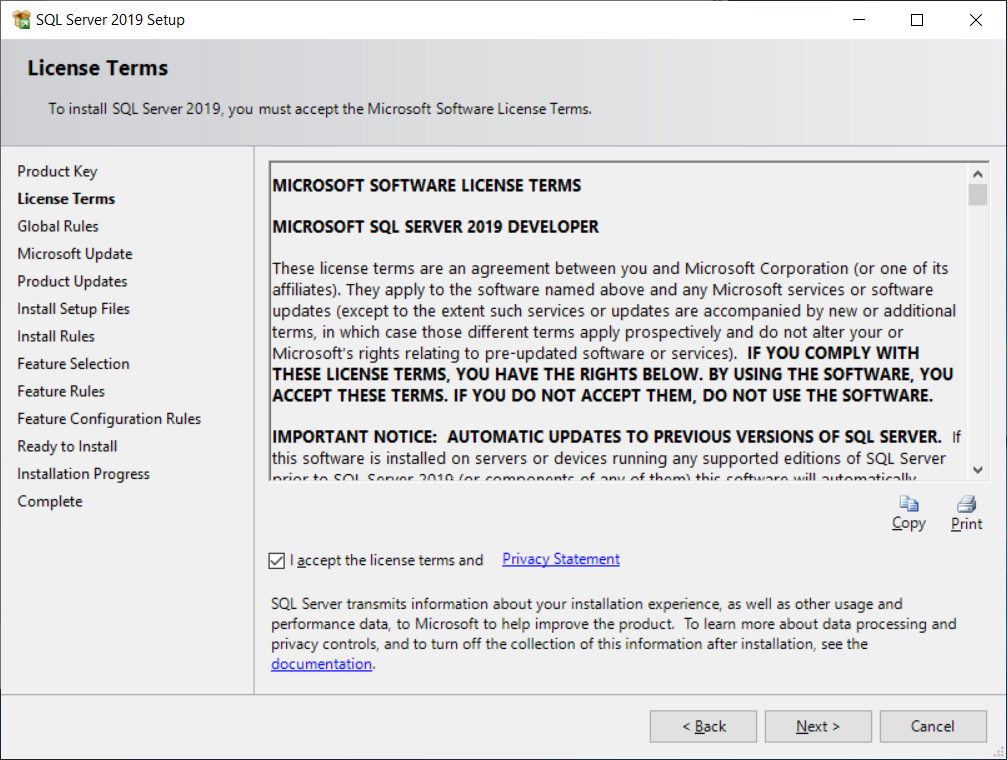
Accept the license terms and click Next.
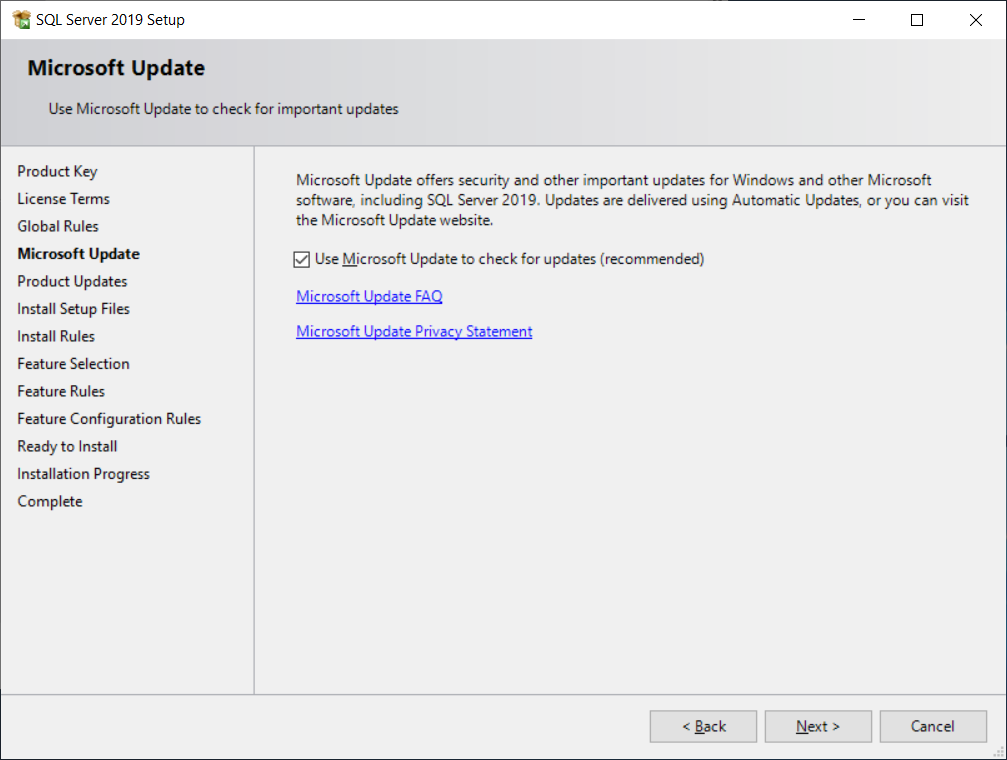
Use Microsoft Update to keep SQL Server current and click Next.
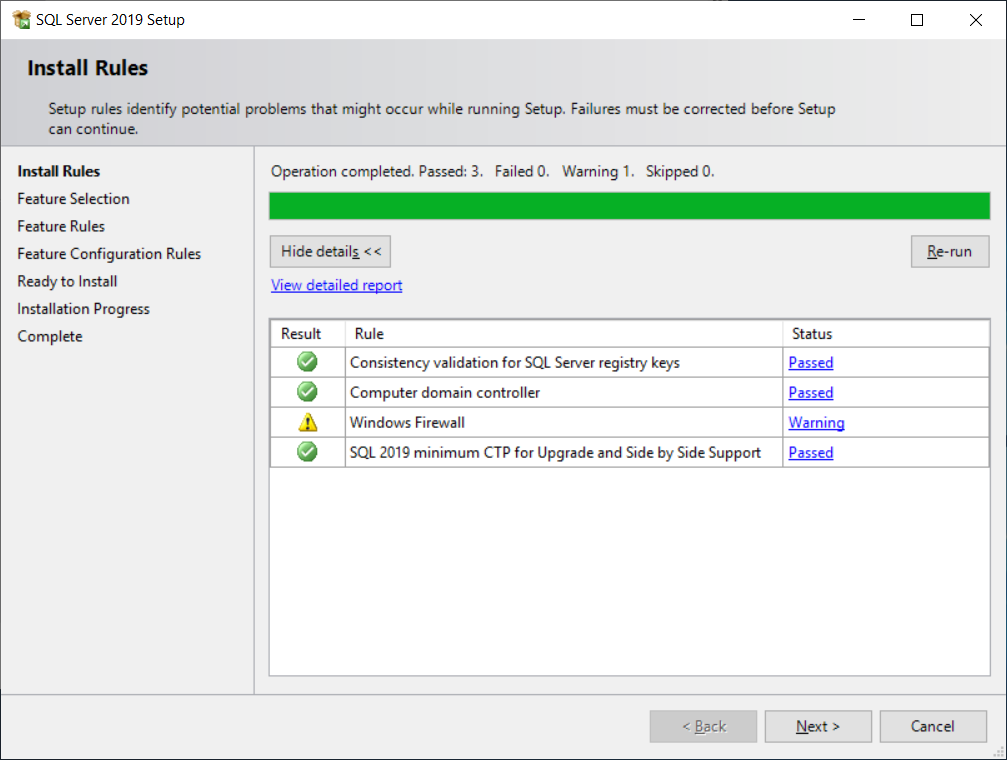
Don't worry about the warning for Windows Firewall; we'll set that as needed. Click Next.
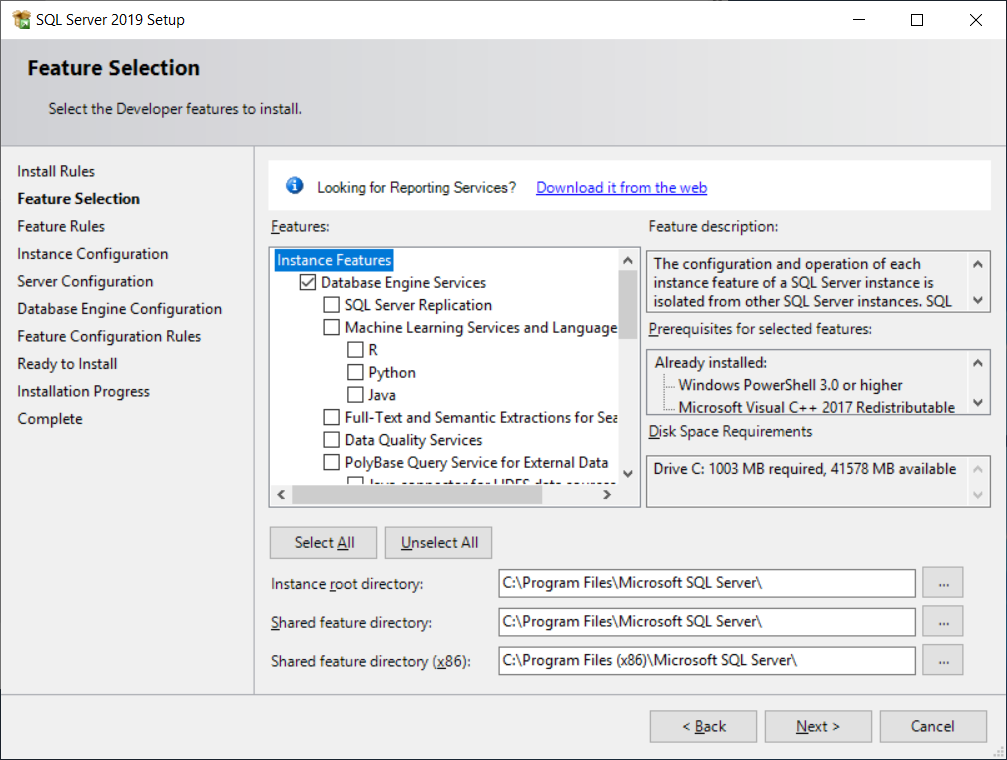
Choose only Database Engine Services and leave default directories. Click Next.
Accept Default instance and click Next.

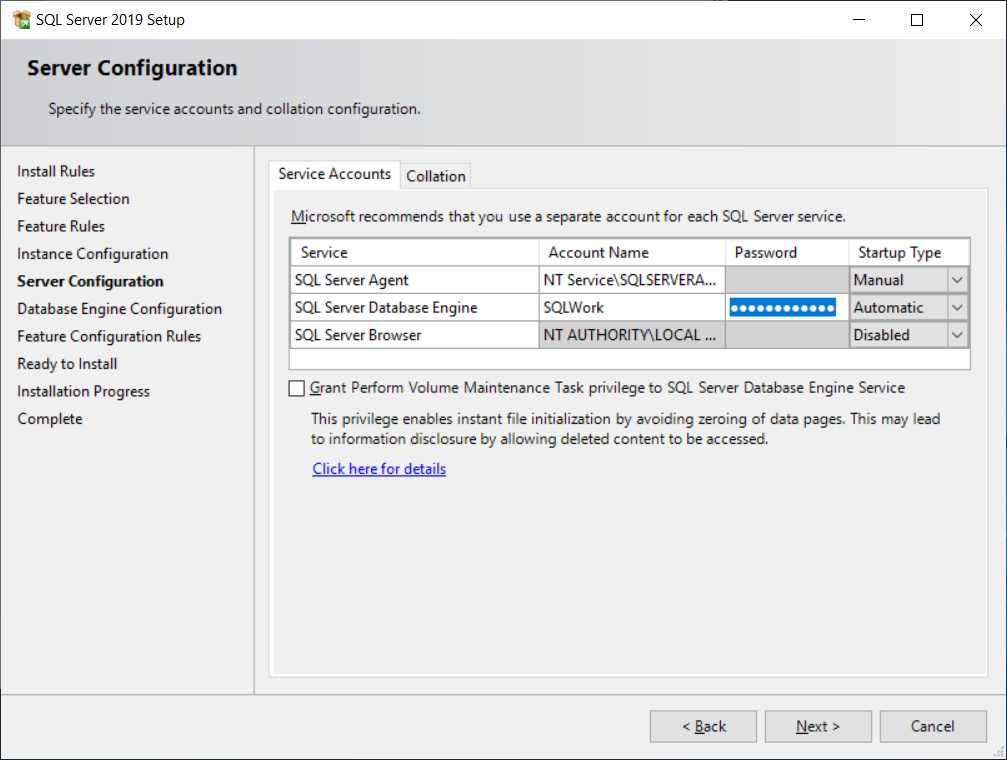
Set SQLWork account and password for SQL Server Database Engine and click Next.
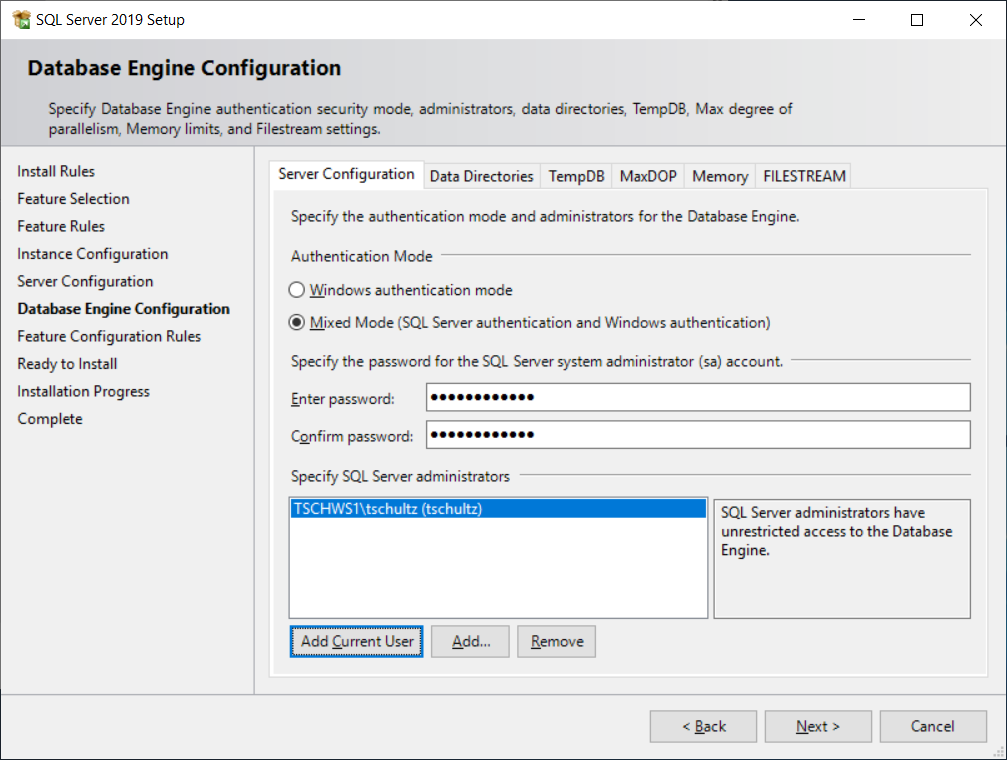
Important: Select Mixed Mode authentication, set a password for the SQL Server sa account, and use Add Current User to make your Windows admin account a system admin for SQL Server. Other tabs can be left at defaults. Click Next.
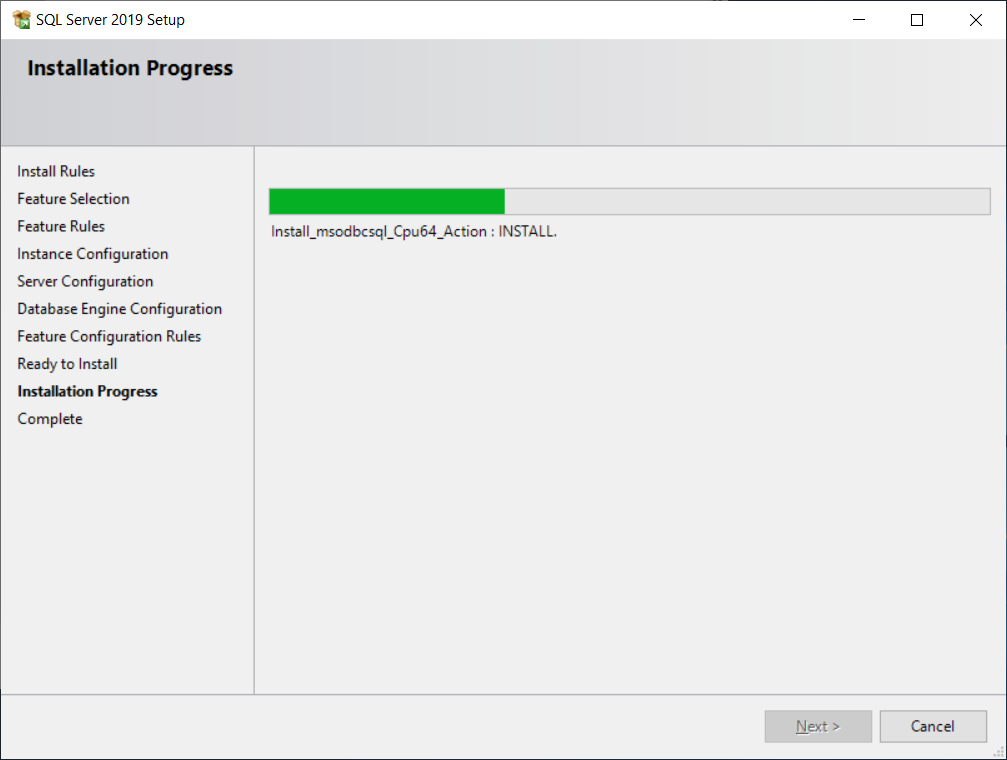
Click Install after reviewing the configuration

Go get a coffee while SQL Server installs.
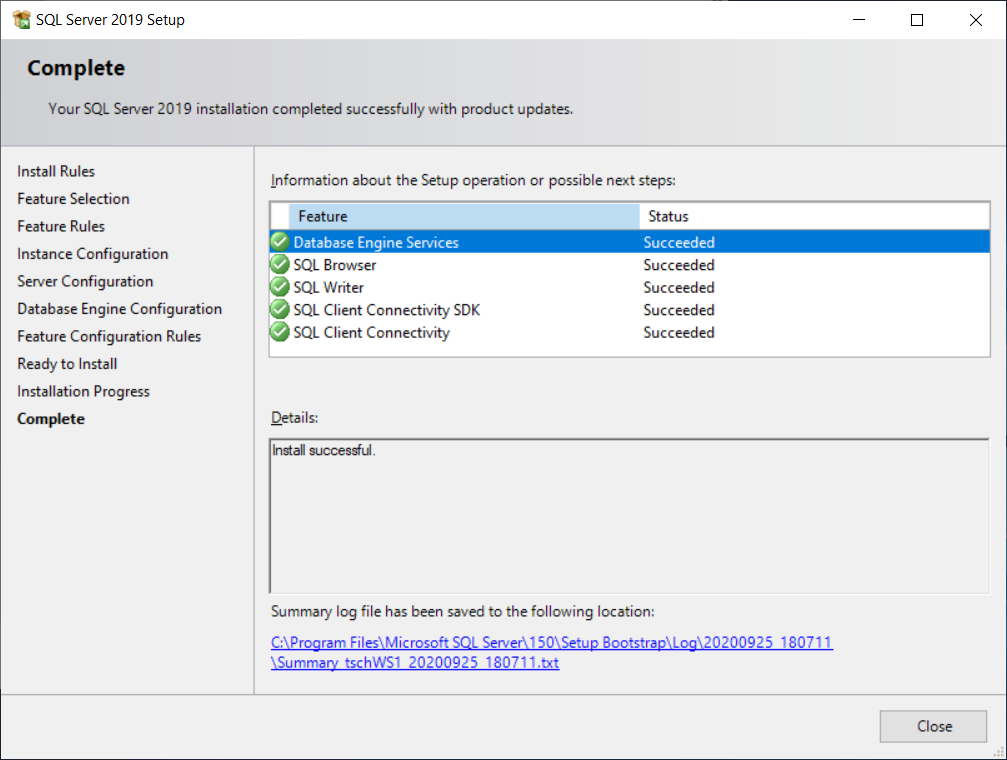
Installation should succeed. Click Close and also close the SQL Server Installation Center (where all this started).
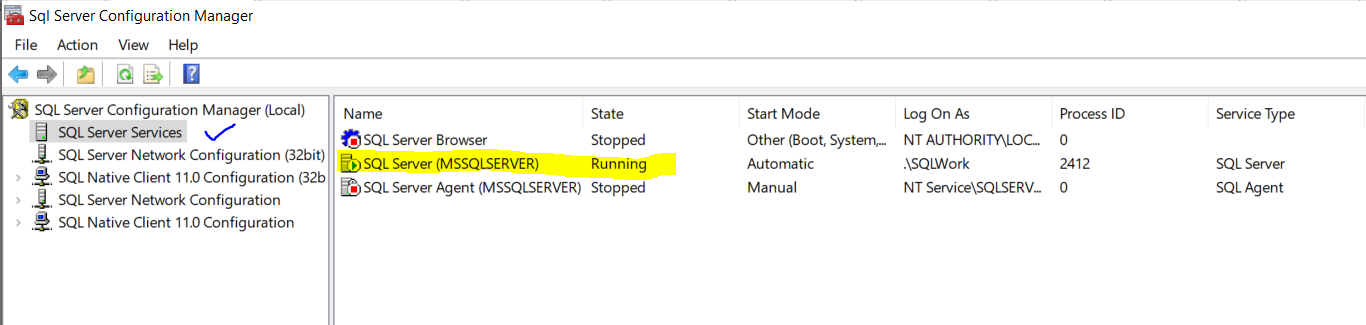
To check for a valid installation use Start | SQL Server and look for Configuration Manager

In Configuration Manager SQL Server (MSSQLSERVER) should be running. Close Configuration Manager when done (just for neatness, not required).
SQL Server First Steps
To get a first exposure to SQL Server the sqlcmd client will be used to connect to SQL Server, create a database, and manage a table. There are a variety of products, notably Microsoft SQL Server Management Studio, that provide a GUI and tools for administering a SQL Server instance and its databases. Kind of like a command line for SQL Server, the sqlcmd client is fundamental and enough for our purposes.
SQL Server commands end with a semi-colon ; but if the semi-colon is left off the SQL Server client will accept the command anyway. In sqlcmd the command go has the built up commands processed against the server so if nothing seems to happen it may be a go command is needed. Upper / lower case don't matter much in SQL Server.
In a command or PowerShell console using the following command connects to the default SQL Server instance using your Windows credentials for authentication (you should have included your admin login as a SQL Server admin during installation)
sqlcmd
SQL Server has the capability for adding users and assigning them passwords. For a user creaeted in the database (e.g., the sa SQL Server system admin) the syntax to connect via SQL Server client is
sqlcmd -U userid -P password
Once in sqlcmd the prompt will change to 1> indicating you should add your first line of SQL. To check which user you are connected to SQL Server as use
select SUSER_SNAME(SUSER_SID());
go
and use
select name, database_id, create_date
from sys.databases;
go
to see what databases are in the server. For a fresh installation there should be a few system databases. To create a database named demoDB use
create database demoDB;
go
A SQL Server connection can have one database in use at a time. The command
select db_name();
go
shows the database currently in use and the command to change this to the demoDB database is
use demoDB;
go
Databases contain tables ... well defined lists of data ... and
select name, id, crdate from sysobjects where xtype = 'U';
go
will show the tables in the database currently in use (there shouldn't be any yet). Tables are defined by their columns -- names, data types, other properties -- so to add a table named Member with a required integer Member ID called MbrID as a unique identifier for a member, a required nickname of up to 50 characters, and a Balance which will default to 0.00 for a new member use
create table Member (
MbrID int not null,
NickName varchar(50) not null,
Balance decimal(8,2) default 0.00,
primary key (MbrID)
);
go
In SQL Server using
exec sp_columns Member;
go
displays the table's structure though the format is
There are no records in Member yet which can be verified using
select * from Member;
go
where the * means return all columns (and all rows since there is no WHERE clause on the SELECT statement).
To add a member nicknamed Frodo with ID 1001 and a balance of $25.00 use
insert into Member
(MbrID, NickName, Balance)
values (1001, 'Frodo', 25.00);
go
and run the select * from Member; statement to validate it was entered. There are many variations on an insert statement, beyond our scope, but two common ones are
insert into Member
(MbrID, NickName)
values (1002, 'Luke Skywalker'),
(1003, 'The Phantom');
go
which adds two new records with one command and the Balance will default to 0.00. The command
insert into Member
values (2001, 'Hal', 5.00);
go
inserts one new record but without a field list (the values are aligned with columns from left-to-right in the table). The results of select * from Member; should now show four records.
Existing records can be updated via SQL. As a 'for instance' suppose all members with ID's less than 2000 get 10% added to their balance. The command
update Member
set Balance = 1.1 * Balance
where MbrID < 2000;
go
Run select * from Member; to see the effect.
Records can also be deleted. To remove those members with a balance of zero use
delete from Member
where Balance = 0.00;
go
Again, run select * from Member; to see the effect.
Using exit or quit in the SQL Server client exits the client. No worries about 'saving'; the data will be as you left them.