.NET Core in Windows
Refs:
Tutorial: Create a .NET Core console application using Visual Studio Code
Install .NET Core SDK
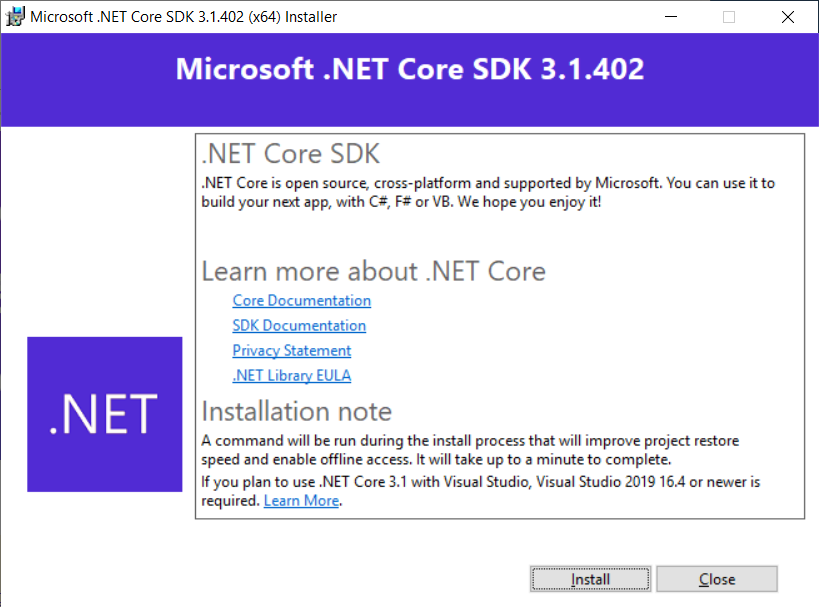
Visit dotnet download and scroll down to find and click .NET Core SDK.

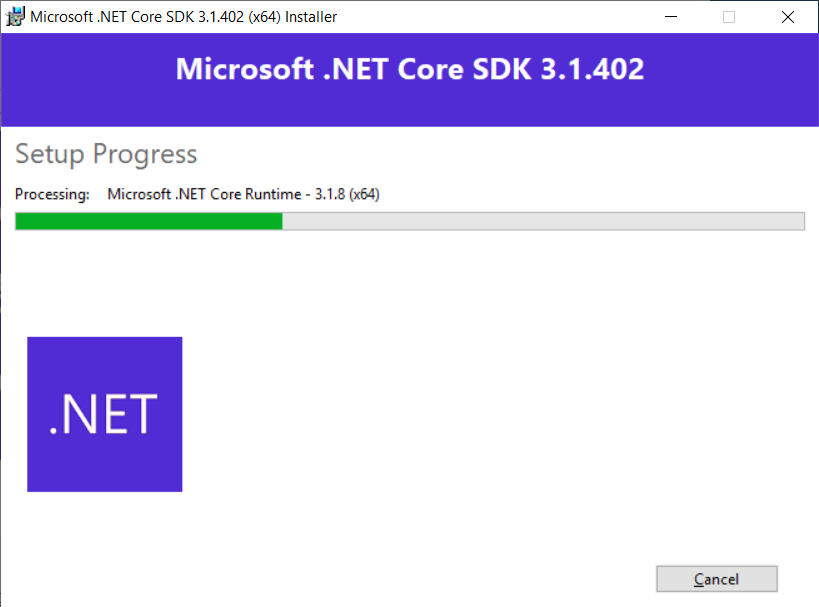
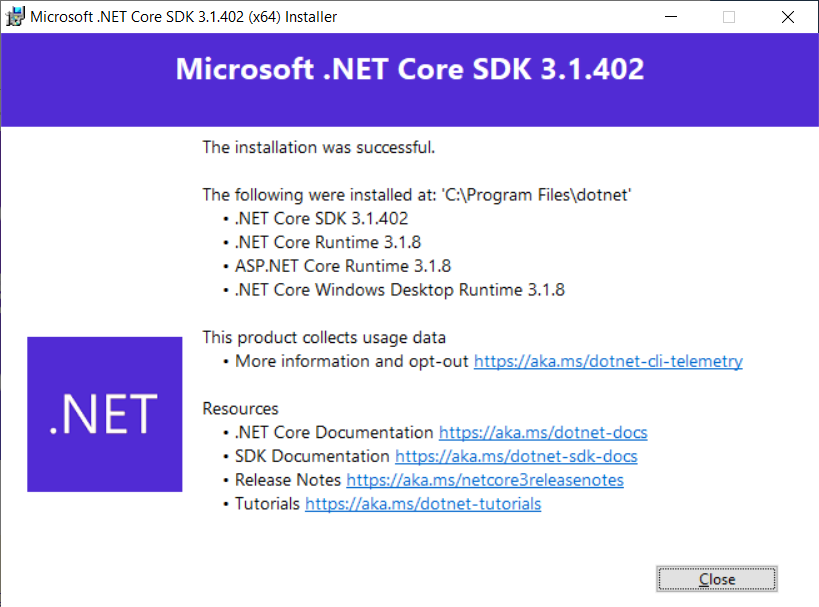
Save (recommended in case we need to rerun) and run the downloaded .exe file. Click install on the opening page; the installation will begin and after a bit finish (click Close). The command dotnet --list-sdks in, e.g., a PowerShell console should show the SDK(s) installed.
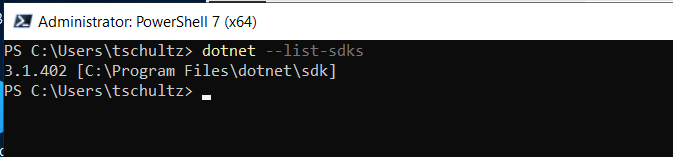
The command dotnet --list-sdks should show the SDK(s) installed.
$ dotnet --list-sdks
3.1.402 [/usr/share/dotnet/sdk]
Setup Visual Studio Code
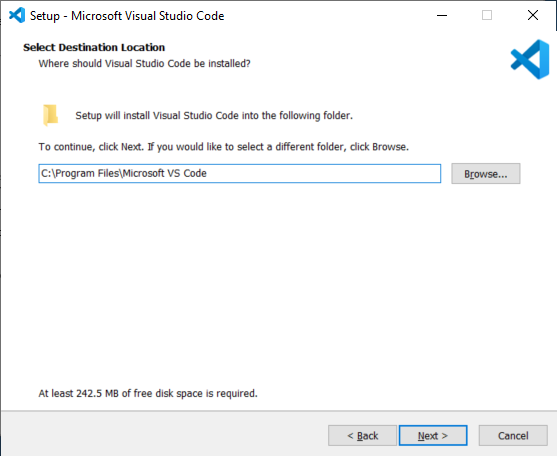
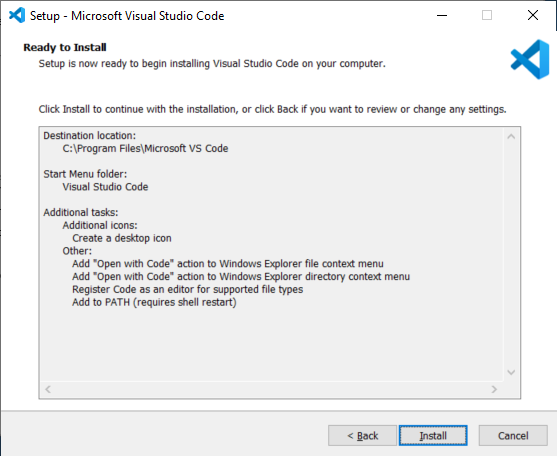
Like many (too many, IMHO) modern applications Visual Studio Code defaults to installing a version for each user in their AppData folder. This is -- maybe -- ok for a single user device but part of the point of a server is one install that all qualified users can run: for a 150 user server or network why have 150 installs of the same product? So a 'system setup' is preferred for our use case. Downloading and running VSCodeSetup-x64 on the target machine is the recommended approach. Defaults are recommended except on the fourth Select Additional Tasks screen where all boxes are (recommended) checked; click Next or Install as appropriate.


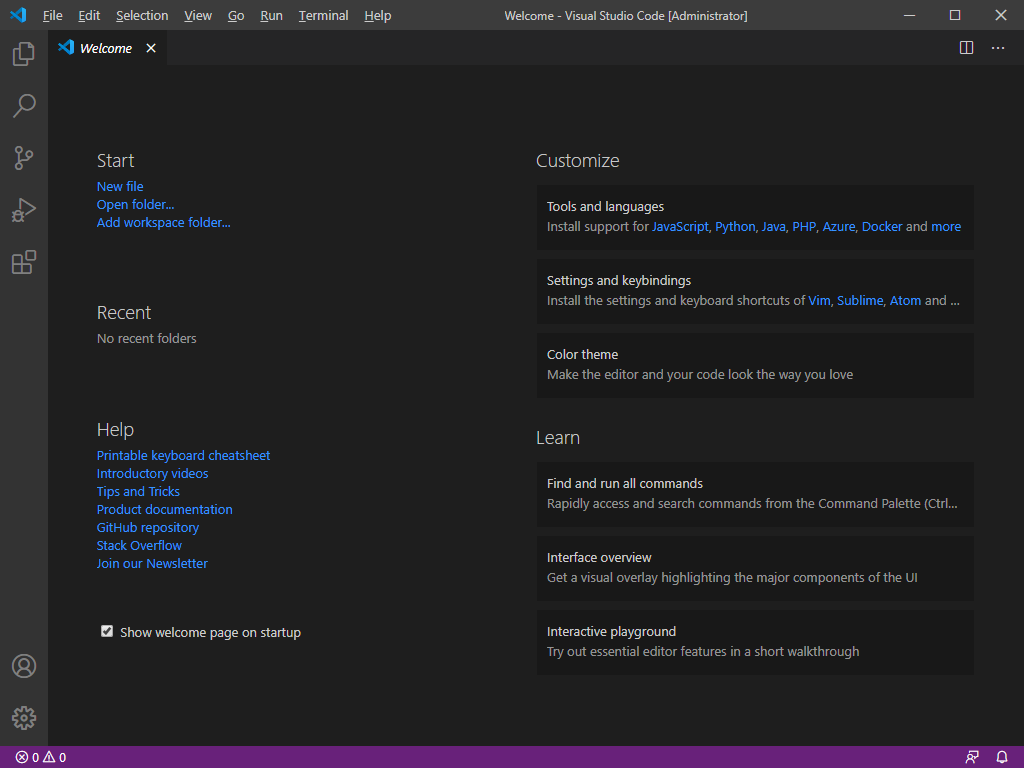
To add C# Extensions in VS Code use Go | Go to File from the menu or Ctrl + P and use ext install c# as the search criteria. Click Install next to the C# extension from Microsoft and it will begin installing. After installation you can select a color scheme.
A Quick Test
Follow guidance from Tutorial: Create a .NET Core console application using Visual Studio Code to create and run a Hello World! application. Note that the application can be run from a VS Code terminal but also from a terminal if dotnet and the fully qualified path to the .dll is used.

